Cooking with TechyDad: Tie-Dyed Cheesecake
On our trip to Disney World, we sampled many great foods. Everything from Morrocan to Canadian to, well, good-ol’ US of A food. The food that stuck in our minds the most, though, came from the hotel we stayed in. The Pop Century Resorts’ restaurant had Tie-Dye Cheesecake. A delicious, rich cheesecake, swirled with many different colors, was served atop a “crust” made from red velvet cake. *YUM!*
Being the cooking enthusiest that I am, I decided that I couldn’t let Tie-Dyed Red Velvet Cheesecake be just a fond Disney World memory. I *had* to make it myself. A quick Google search turned up this recipe over at Slashfood. If you follow my wife’s blog, you know that we made it and what the result was. Long story short, the cake, while good, was not what I was hoping for. Instead of a multi-colored cheesecake with red velvet crust, we got a red velvet cake with a multi-colored cheesecake icing. The basic recipe was sound. We just had to fiddle with the proportions. So we decided to halve the cake portion and double the cheesecake portion. We also decided to substitute red velvet cake for Strawberry cake.
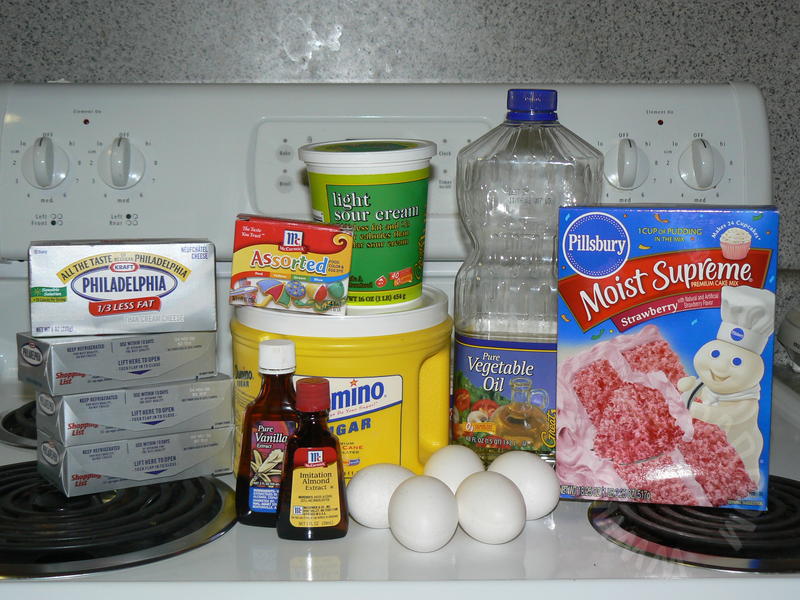
First, of course, we got our ingredients ready.
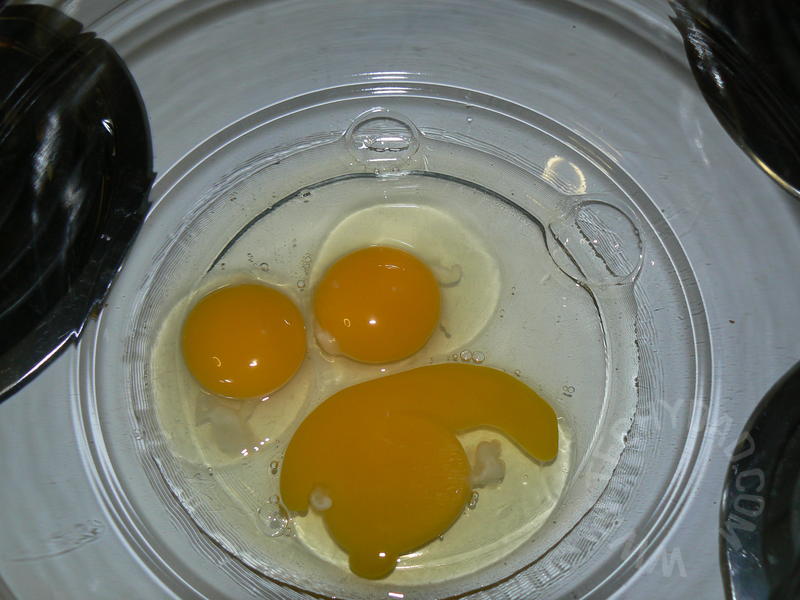
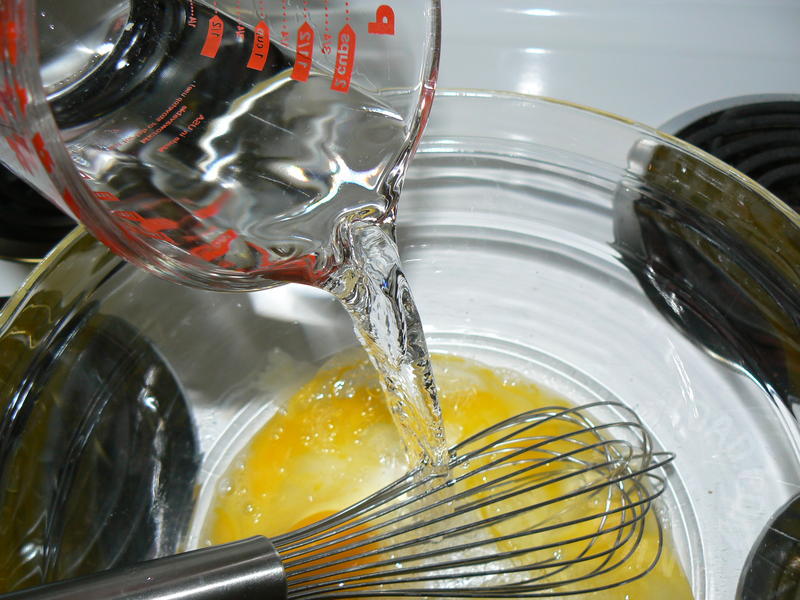
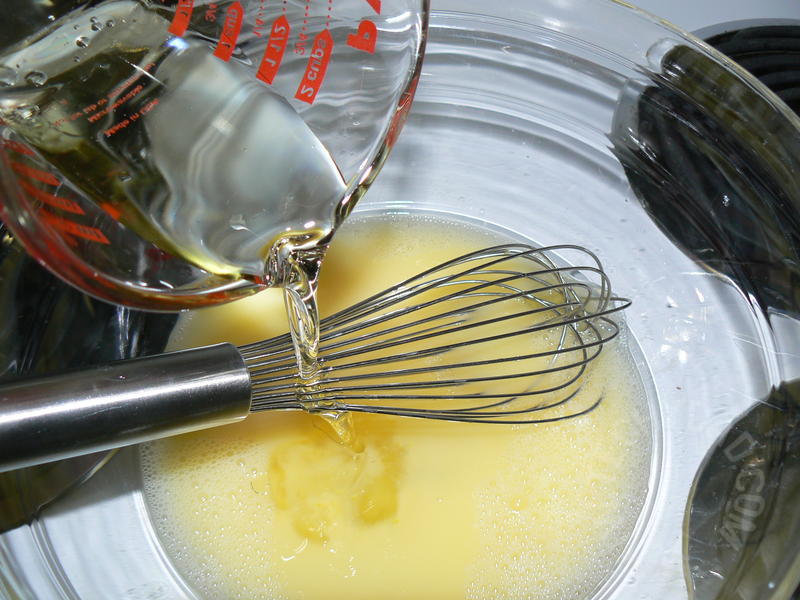
Next, we added the eggs, water and oil as per the cake mix’s instructions.
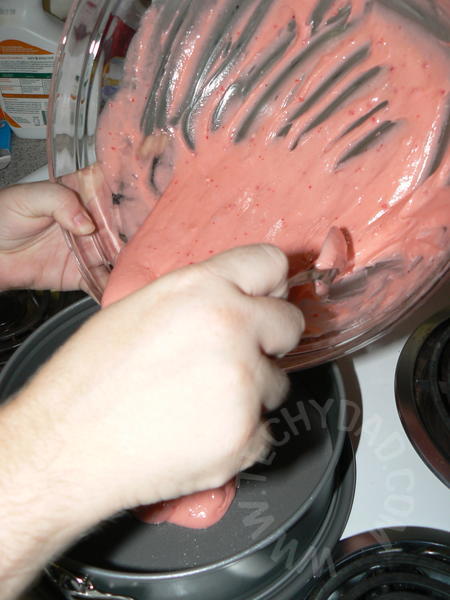
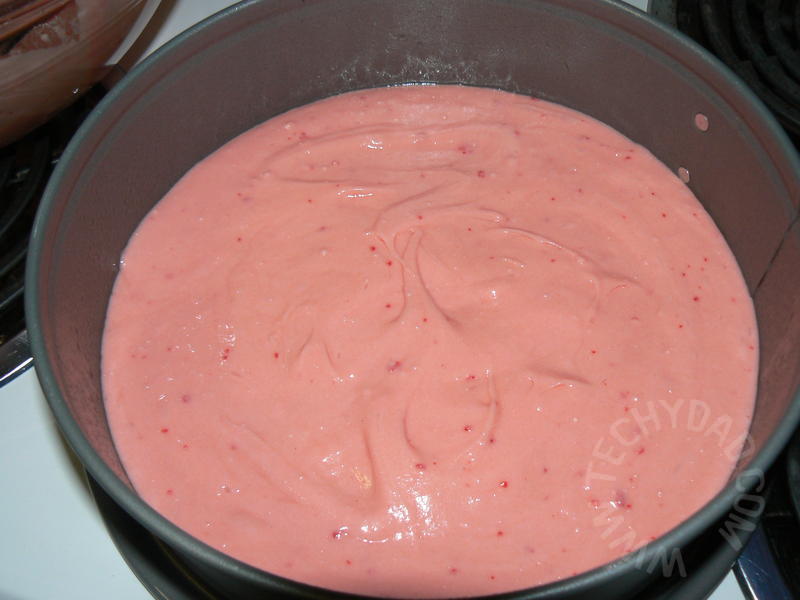
After mixing it all together, we got our springform pan ready and poured about 1/4 to 1/3 of the mixture into the pan. It was barely enough to cover the bottom of the pan.
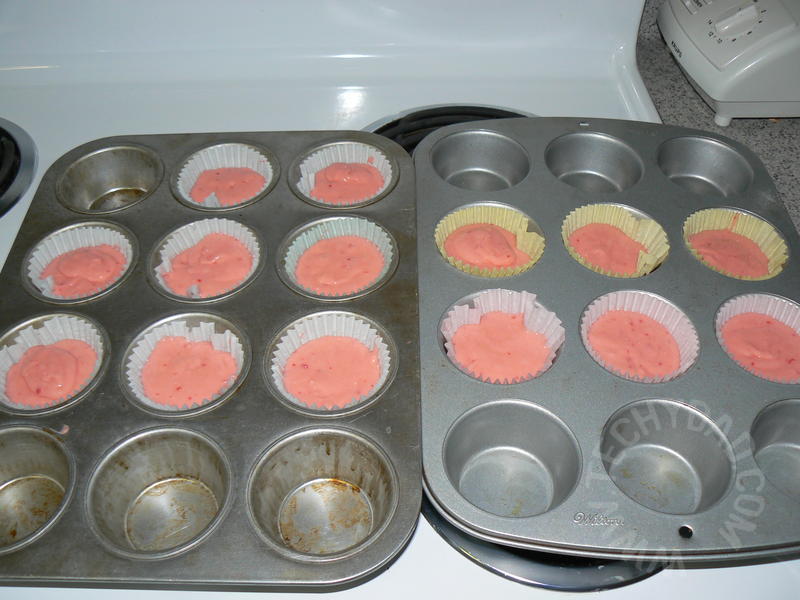
Of course, we had plenty of batter left over, so we made cupcakes.
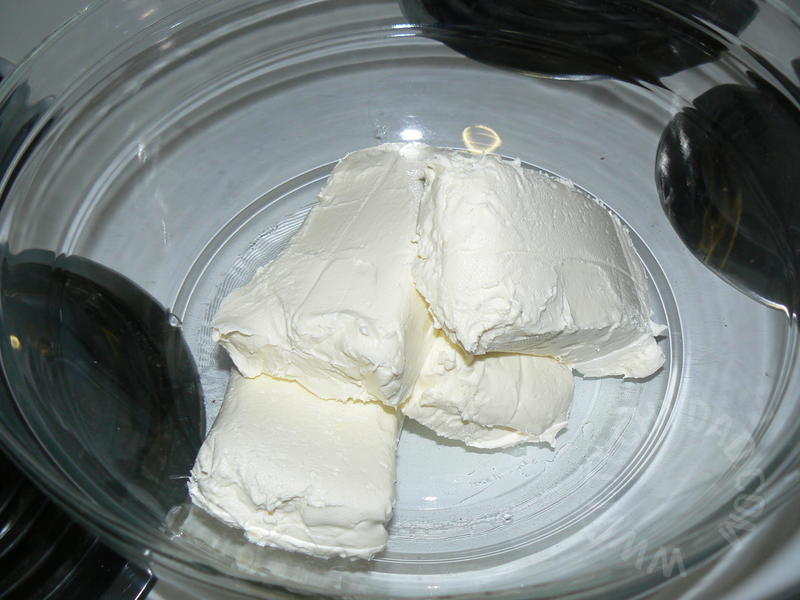
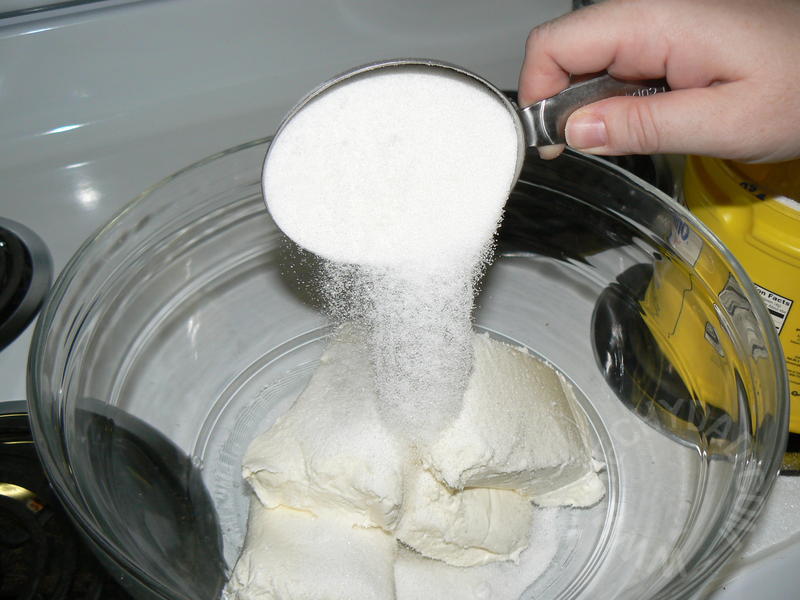
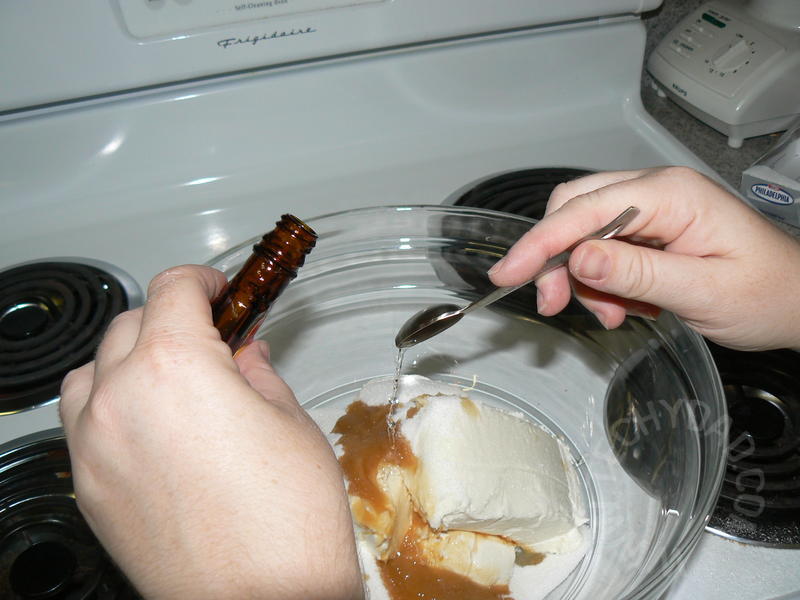
While the cake cooked, we prepared the (now doubled) cheesecake portion. First, we added the cream cheese, sugar, vanilla, and almond extract.

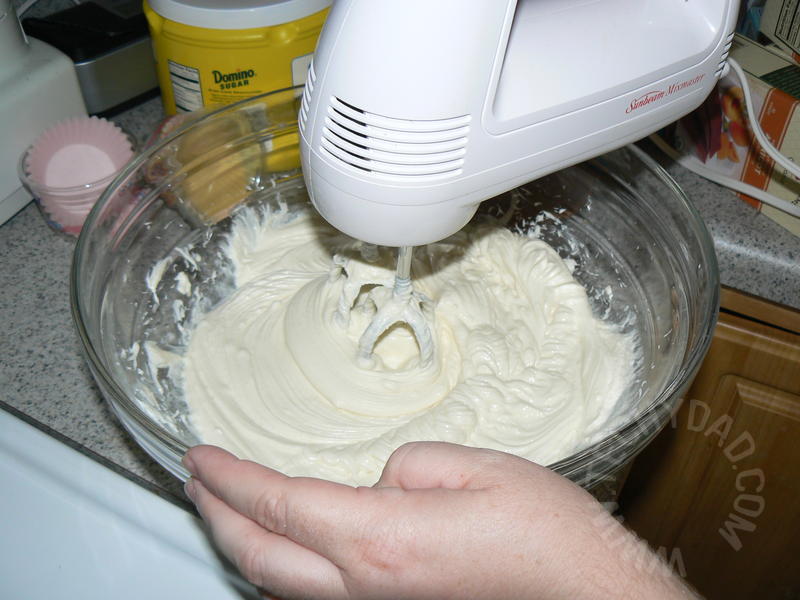
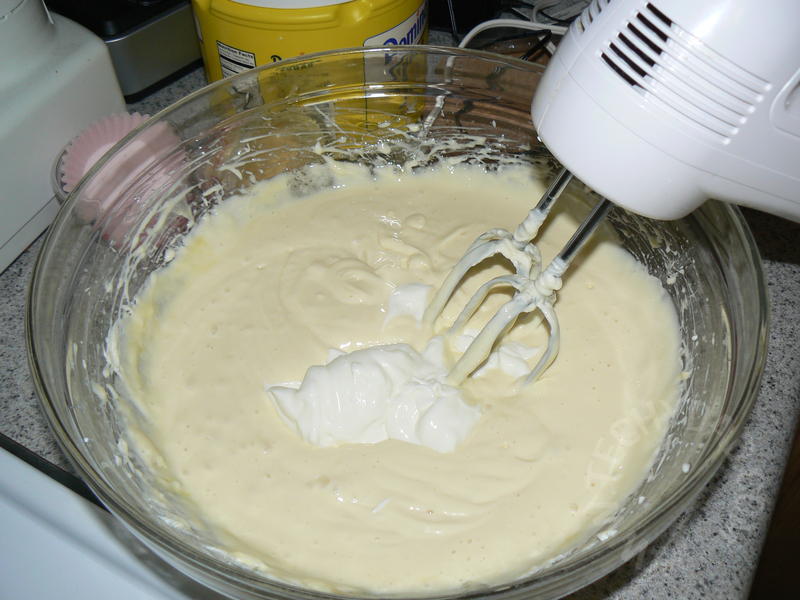
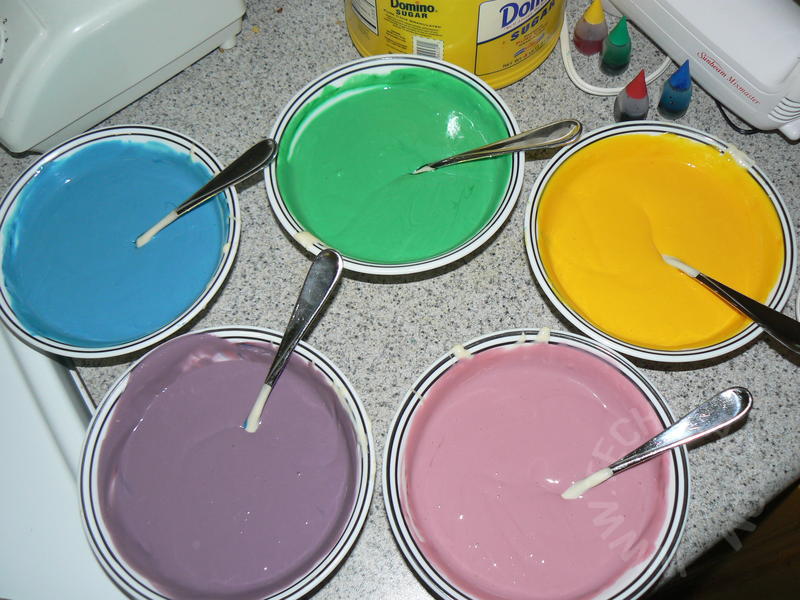
Using an electric mixture, we beat this all together, added our eggs and sour cream, and divided the cheesecake batter into 5 bowls.

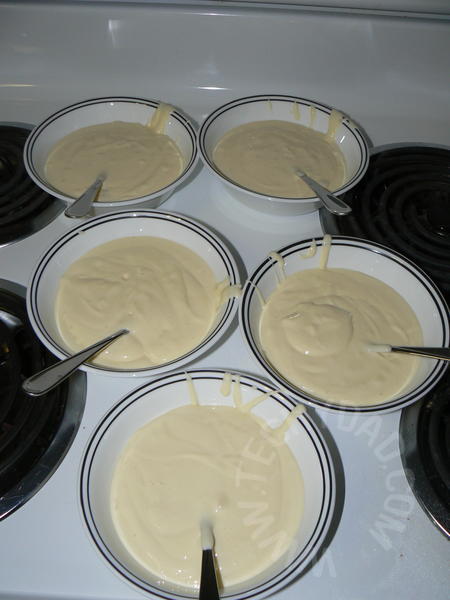
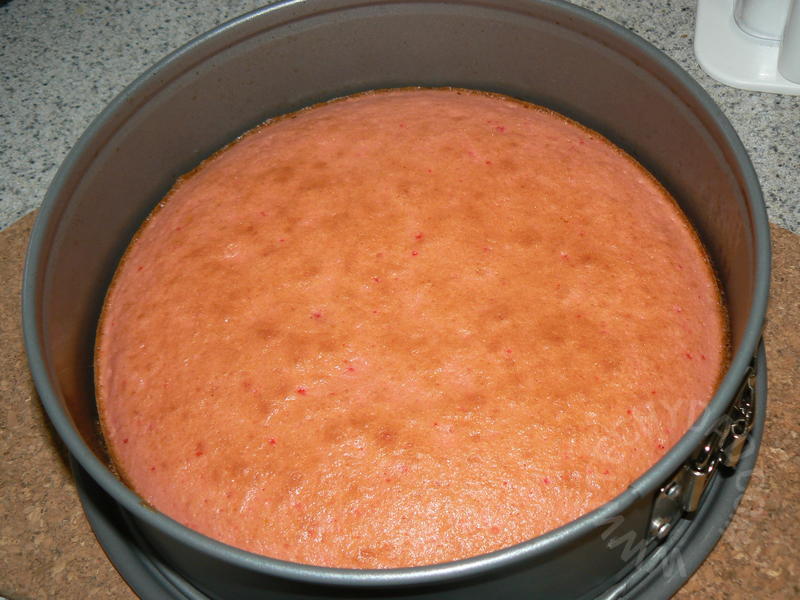
At about this time, the strawberry cake base was done so we set it aside to cool.
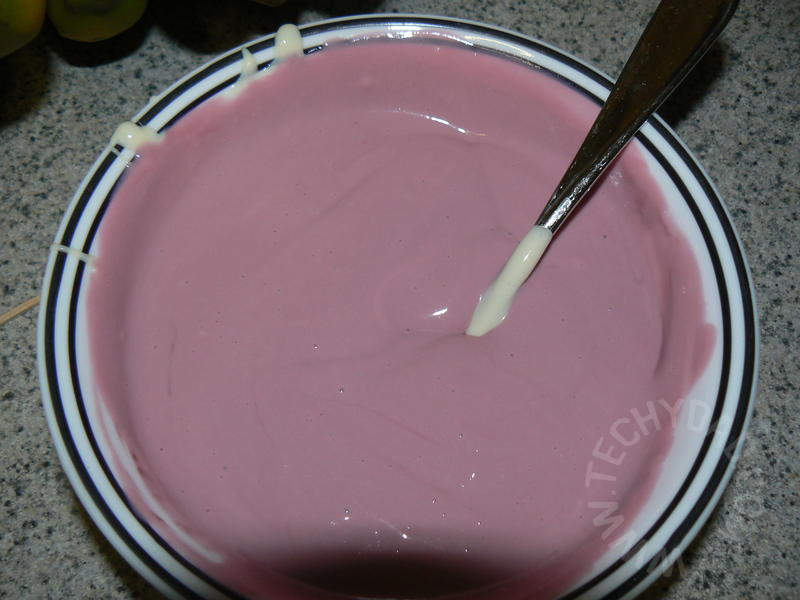
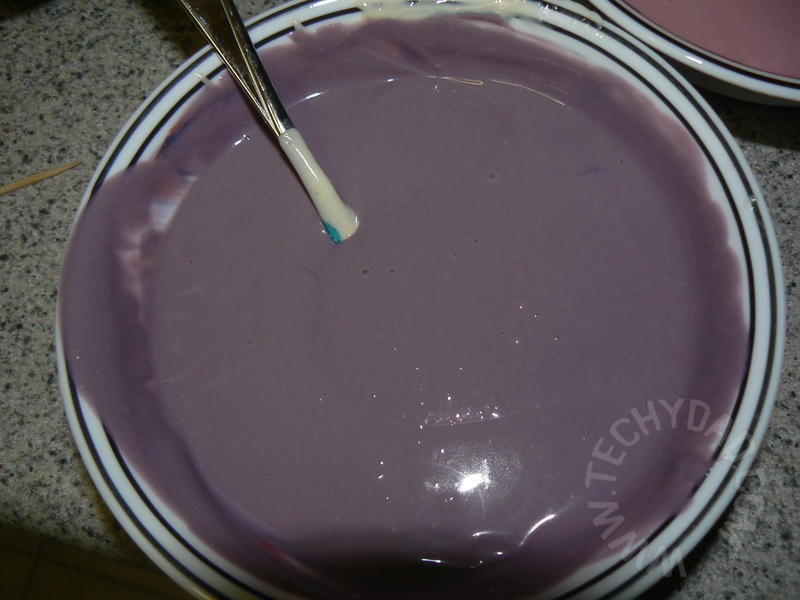
Next, B mixed in the food coloring to make Pink, Purple, Blue, Green and Yellow.
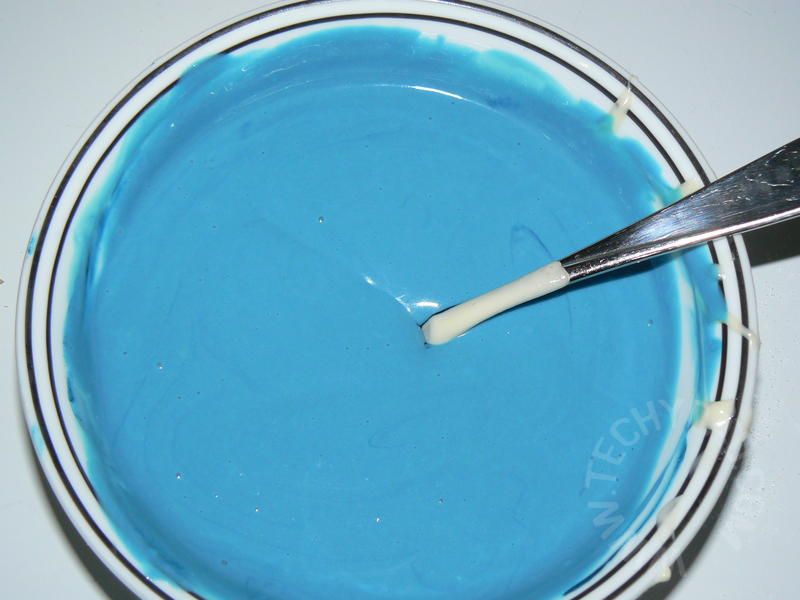
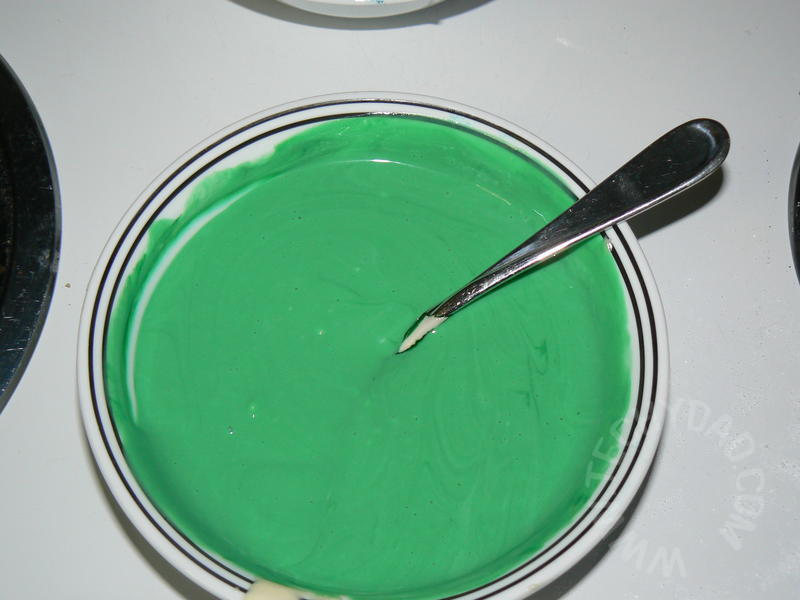
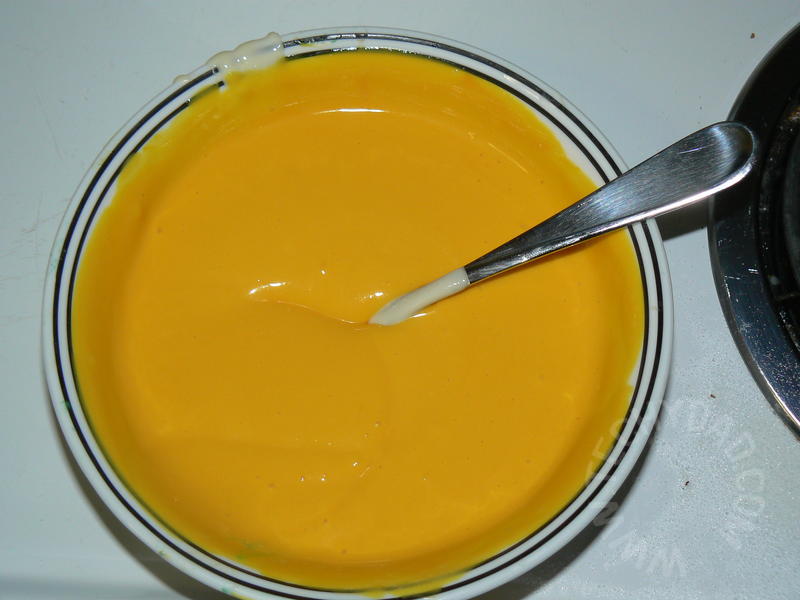
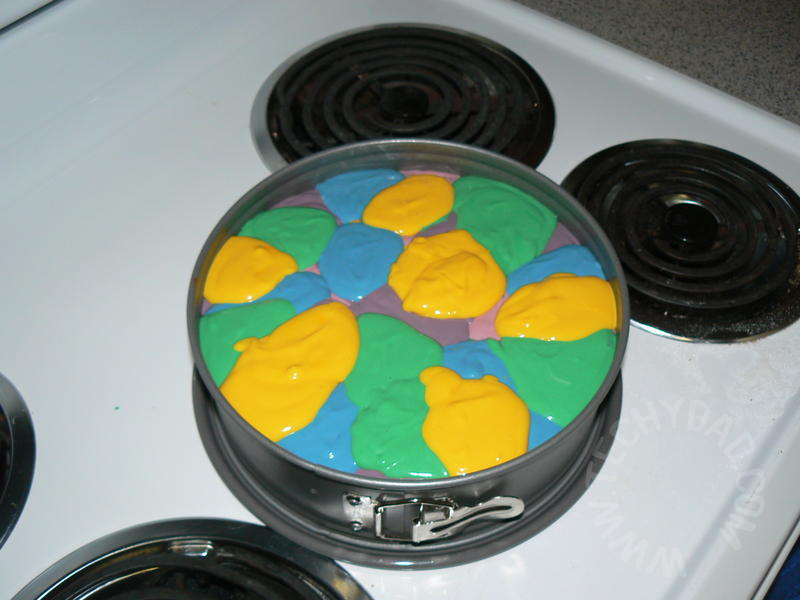
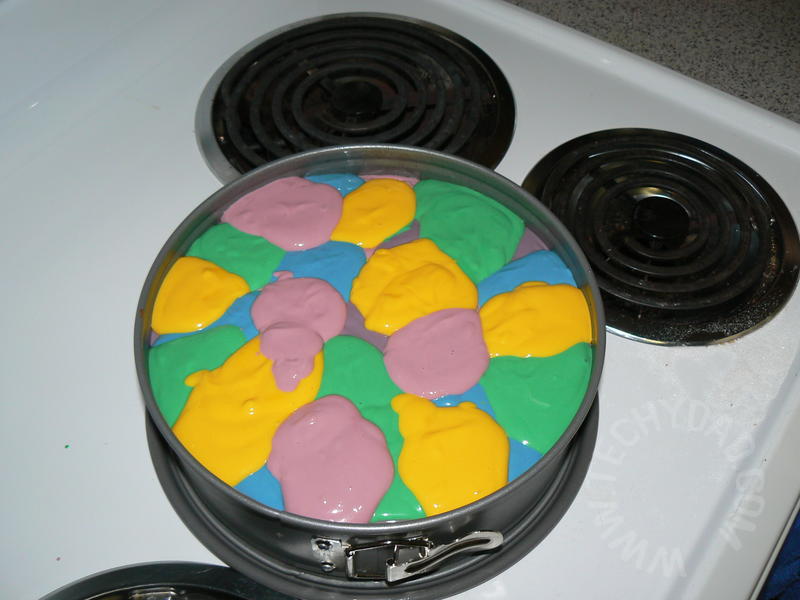
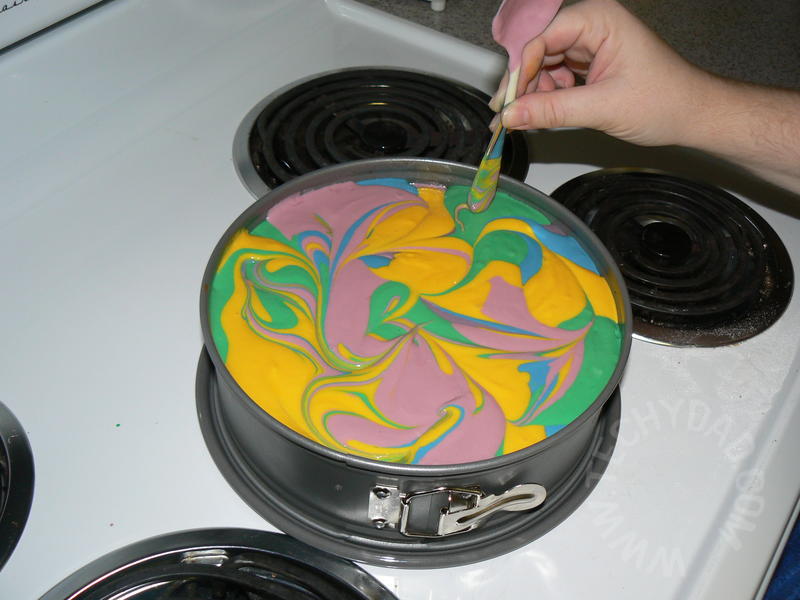
With colors created and cake base cooled, we dropped clumps of colored cheesecase onto the cooled cake. (Try saying that three times fast!)
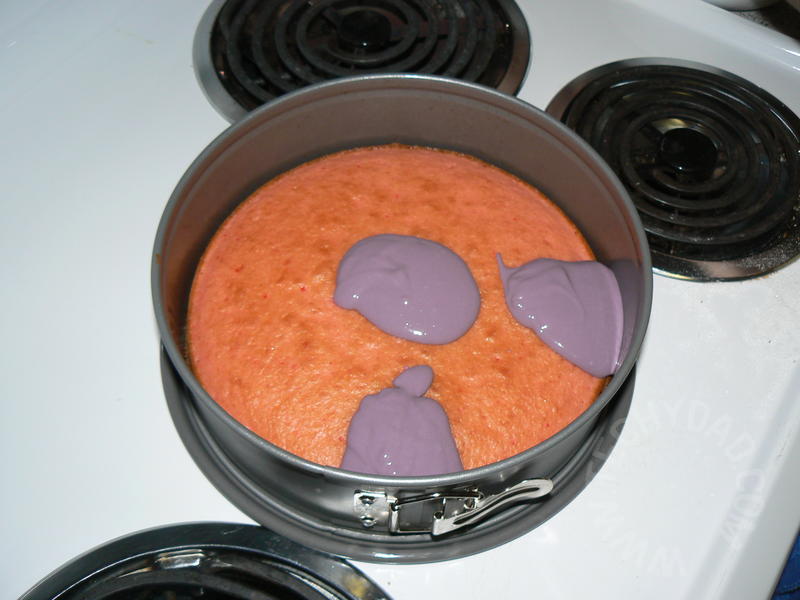
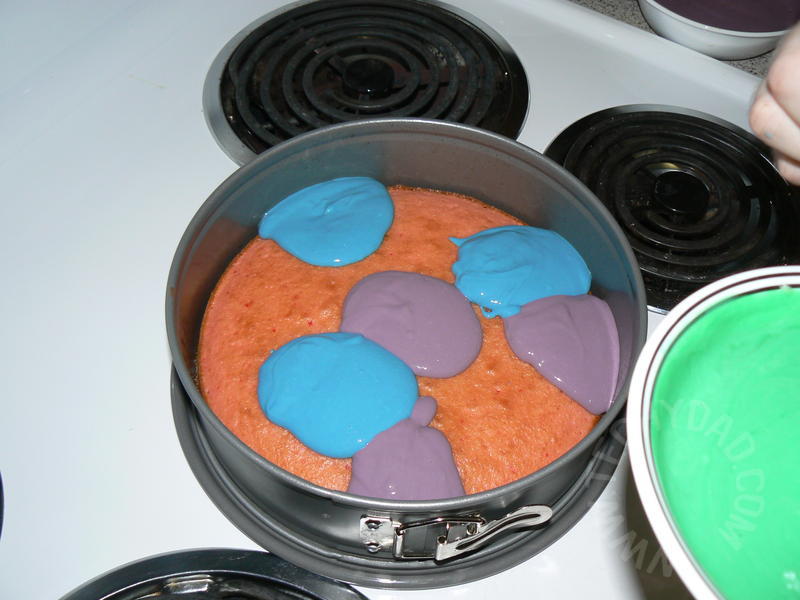
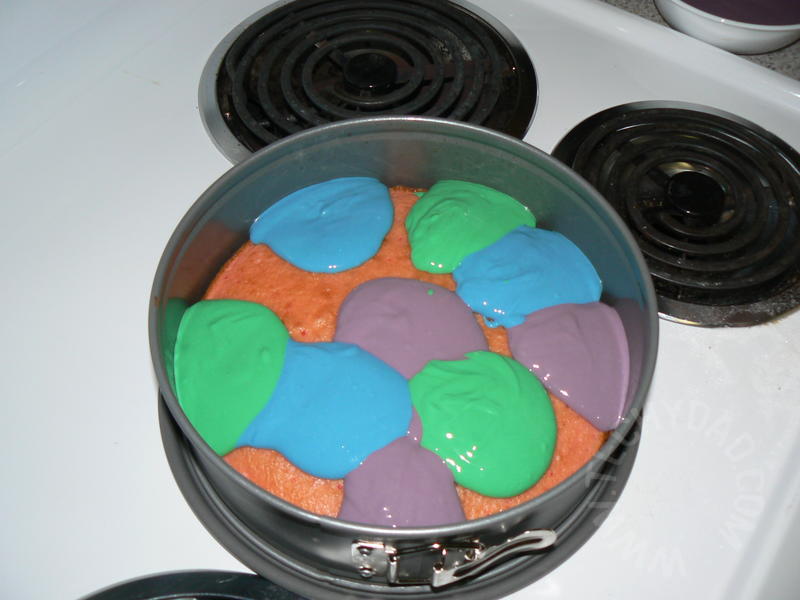
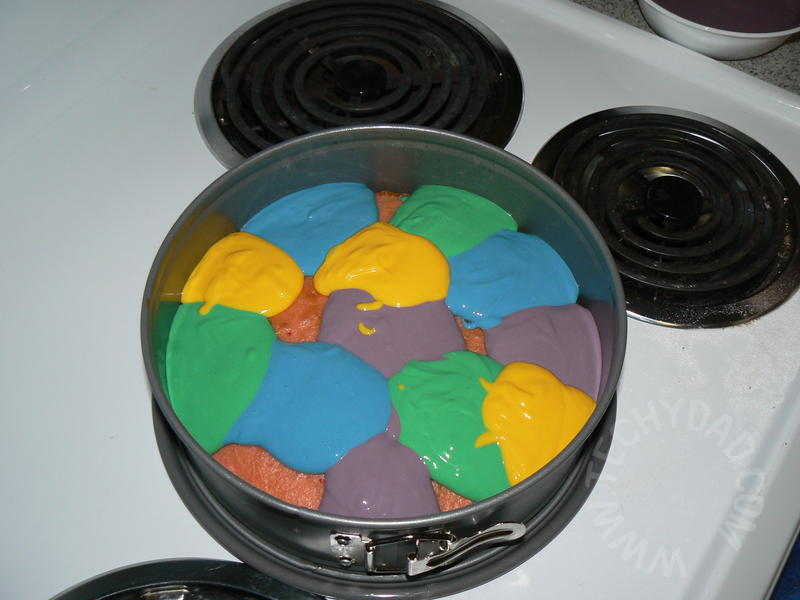
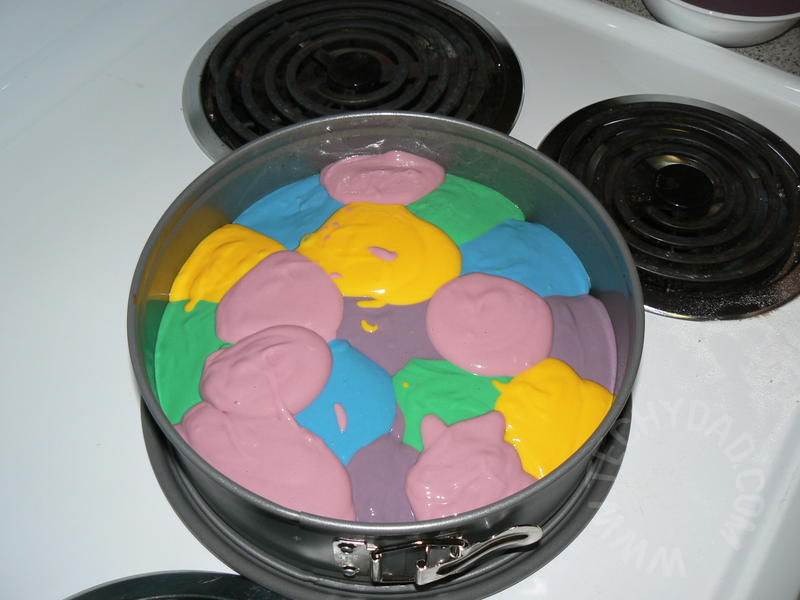
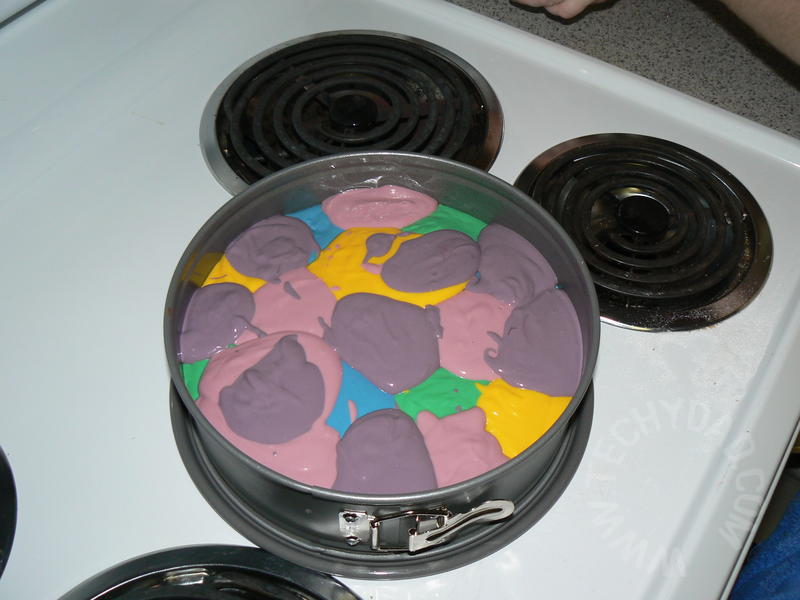
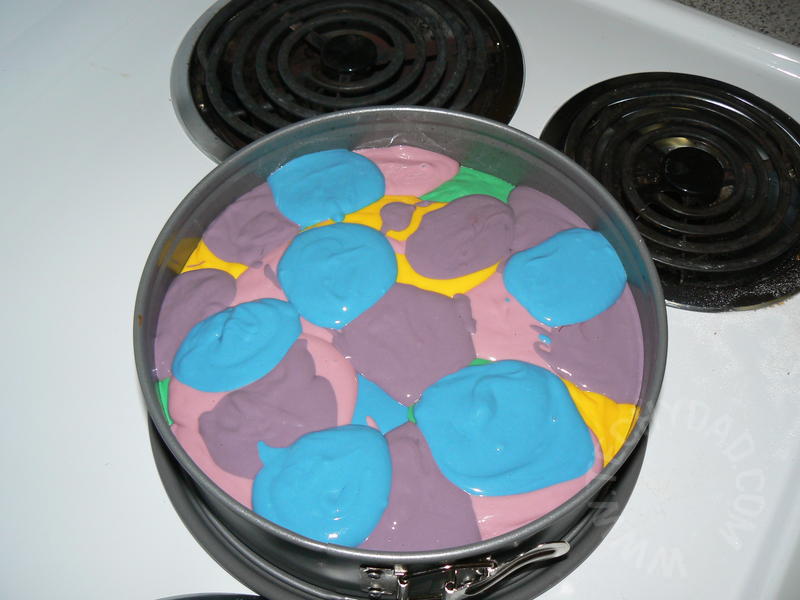
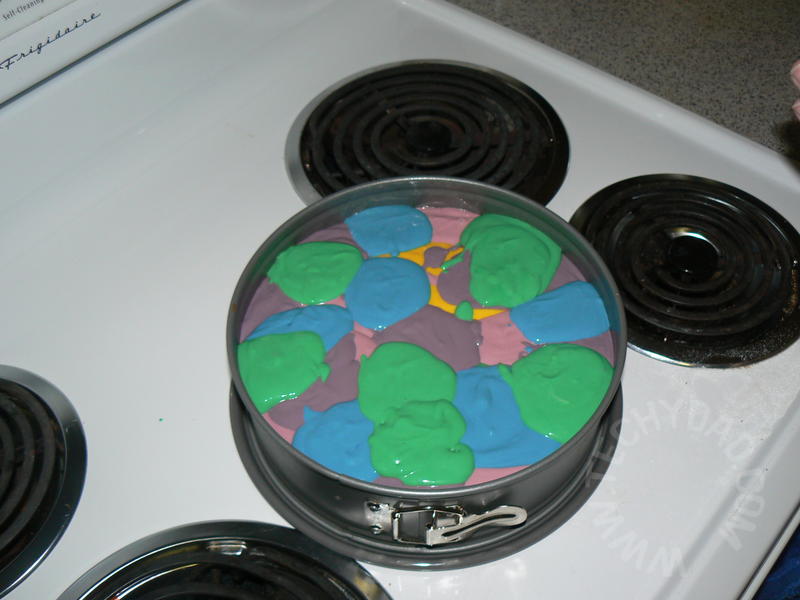
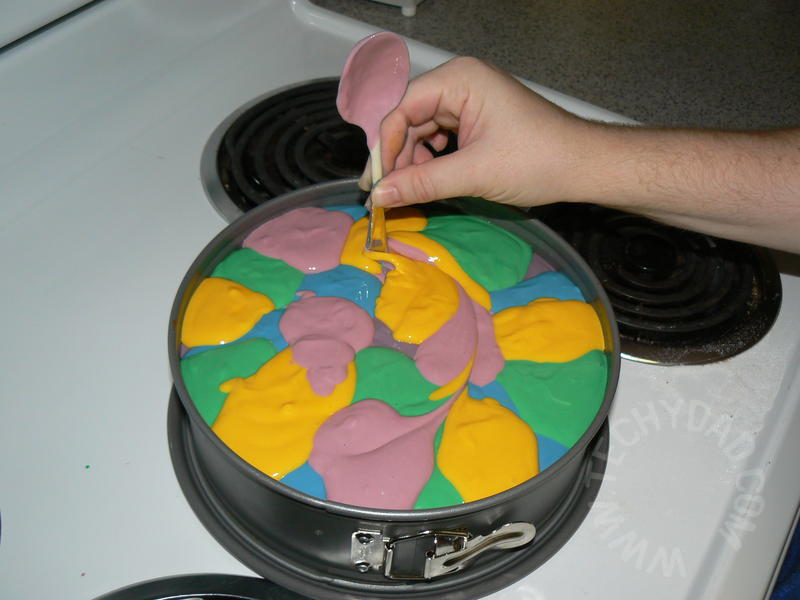
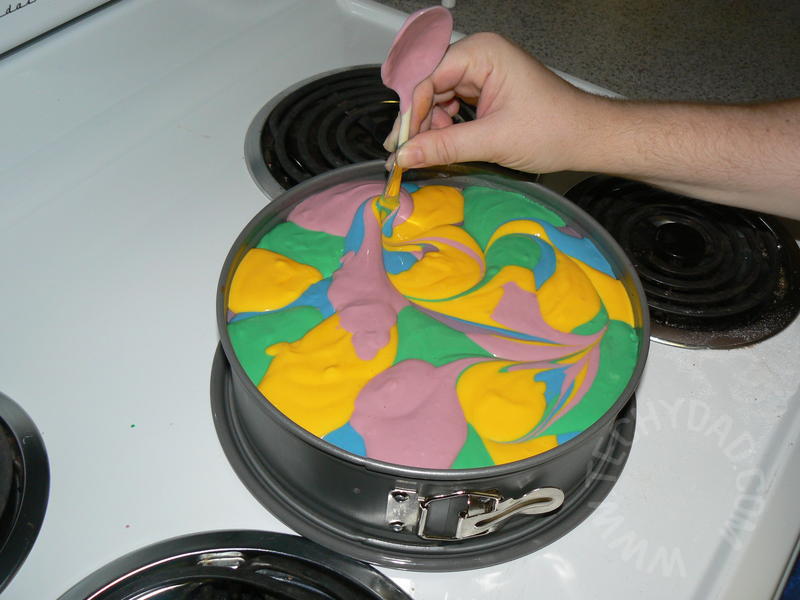
Now, using the bottom of a spoon, we swirled the colors round and round. (Just be careful not to mix them all together.)
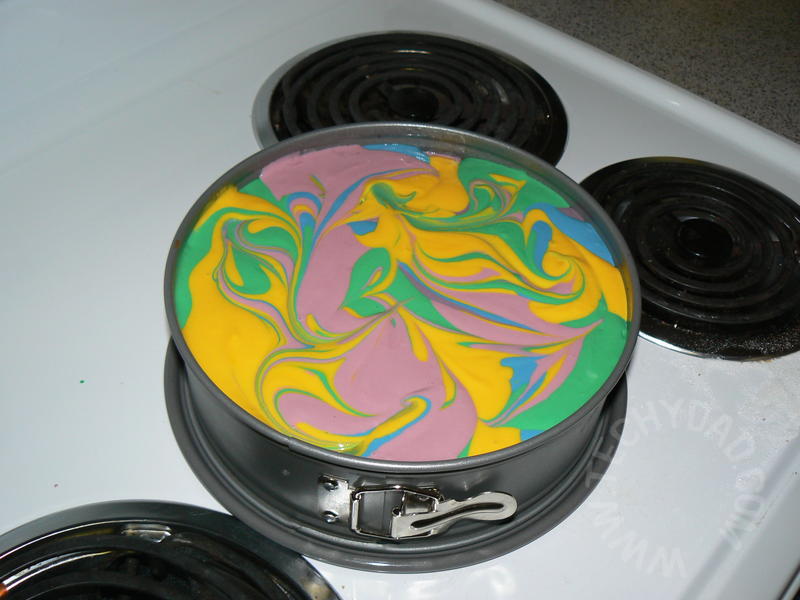
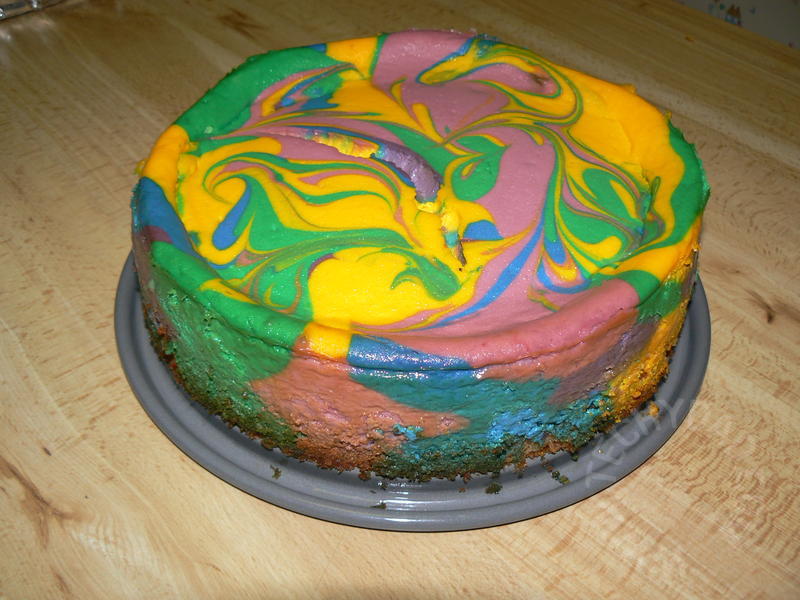
After baking in the oven, the cheesecake came out looking quite tasty, but eating would have to wait until the next day (B’s father’s birthday).

After spending a night resting in the fridge, we took to cake to B’s parents’ house and got ready to eat it. First of all, we removed the springform side with the assistance of a knife. This let us see that the cake-cheesecake proportions looked right this time.
Then, after a quick rendition of Happy Birthday, we sliced into it. Our efforts were well rewarded.
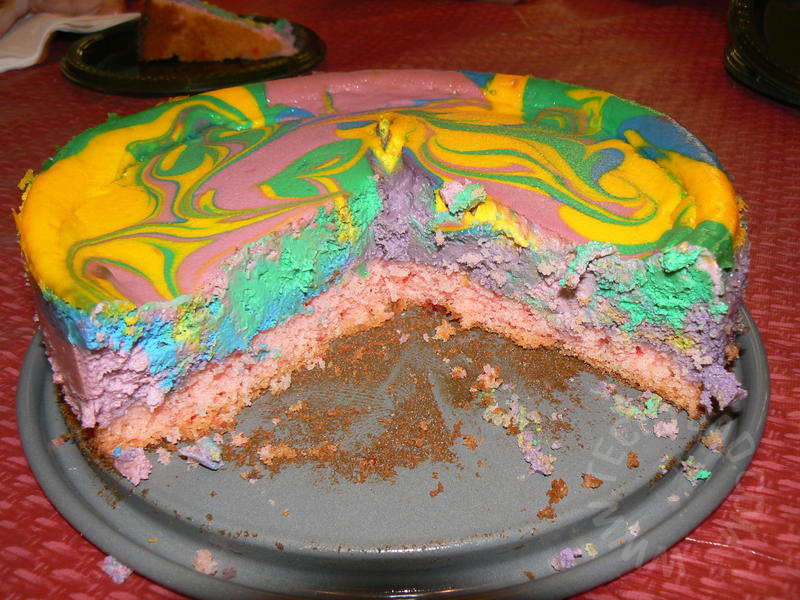
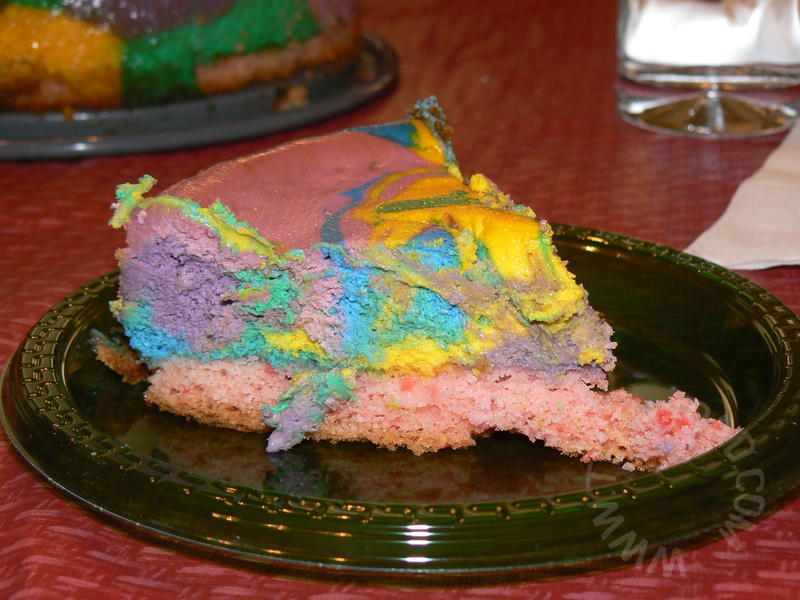

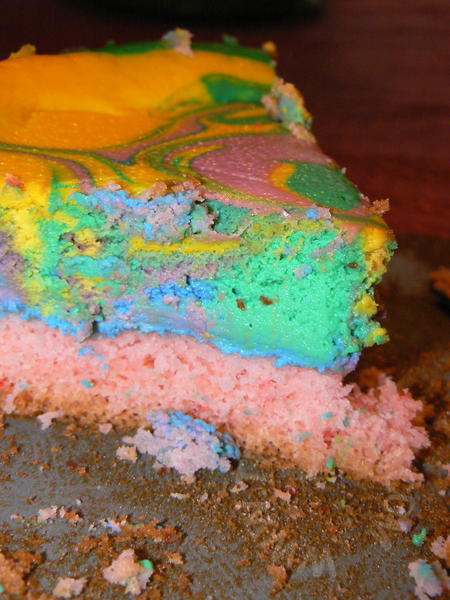
The cheesecake, far from being mere icing this time, took center stage. The strawberry cake worked well, adding to the overall deliciousness of the cake without distracting from the cheesecake flavor. And, of course, the colors were pretty. Our only disappointment was that the Pink and Purple blended together a little too much. Perhaps next time we’ll use a more vibrant Red instead of Pink. Other than that minor quibble, we thoroughly enjoyed the cake and in fact almost finished it in one sitting!
Here’s a modified version of the recipe:
Tie-Dyed Cheesecake
Cake Crust:
1 box Cake Mix (Red Velvet, Strawberry or your favorite flavor), prepared according to box directions.Pour 1/4 to 1/3 of cake mix into a greased 9-inch springform pan and bake for 10-15 minutes. (Use extra batter for cupcakes or for more cheesecakes.) Allow cake layer to cool completely in the pan. Set aside.
Cheesecake:
32 ounces cream cheese, room temperature
1 cup sugar
2 tsp vanilla extract
1/2 tsp almond extract
4 large eggs
1/2 cup sour cream
food coloringPreheat oven to 325 degrees.
In a large bowl, beat cream cheese, sugar, vanilla and almond extract until smooth. Beat in eggs one at a time, then add in sour cream.
Divide mixture into 5 small bowls and add the following colors to each one: red, yellow, blue, green and purple. (Colors can be customized based on color preference or holiday season.) Pour batters in spoonfuls onto cake base in the 9-inch springform pan. Do not swirl too much, so the colors will be clearly visible.
Bake 40-50 minutes, until the center is just about set when you jiggle the pan. (Cooking time will vary based on your oven. I’d cook for 35 minutes then check every 5 minutes until it is done.)
Allow to cool completely and refrigerate before serving.
Run a knife the cake to release it before removing sides of pan.
Serves 12. (Or, in our case, 5 lovers of cheesecake.)
Pingback: To cheesecake or not to cheesecake | The Angel Forever
How interesting…Our wife left a link to your blog on my Aloha Friday Favorite blog link. I see what see means by a different view. The Cake looks interesting. Glad you like to cook. will visit again soon.
.-= AuntieE´s last blog ..Aloha Friday – Favorite Blogs? =-.
Pingback: Food Post Weekly Round-Up: August 23rd | the disney food blog
Great photos! I love how the electric burners next to the cake makes it look like a hidden Mickey!
You have way more patience than I do to make this cheesecake. Good for you.
.-= Gray´s last blog ..Priceline and the Solo Traveler =-.
Pingback: TechyDad » Aloha Friday: What’s Your Favorite Disney Attraction?
Pingback: Travelogue of the Trip That Irene Cancelled, Part 1 | TechyDad