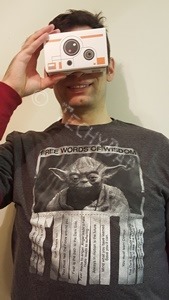
With the name TechyDad, you might guess that I love all things tech. You’d be right, but often monetary realities mean I can’t get every cool new piece of tech. Instead, I need to sit on the sidelines and watch as others enjoy fantastic products on the cutting edge. Recently, Verizon Wireless gave away Star Wars branded Google Cardboards for free. As one might expect, they were swamped by Star Wars fans. B and I managed to get a free Google Cardboard each. What I wasn’t prepared for, was how cool Google Cardboard was.
Google Cardboard is a very simple virtual reality viewer. The specs were released by Google and consists of pieces of cardboard, two lenses, and some Velcro. If you repurpose a pizza box, you can build your own Google Cardboard for under $10 in parts. Alternatively, you can buy models online. I’ve seen everything from simple cardboard-based Cardboard viewers for $5 to high-end-looking molded plastic models (complete with head straps and foam padding for a comfortable fit) for $30. Compared with other VR viewers that cost $200 or more each, Google Cardboard is definitely cost-effective. Your phone gets placed into a holder and the screen is split and distorted (by the Google Cardboard app – free for Android or iOS) so that looking through the lenses results in a 3D experience.
 NOTE: Some Google Cardboard viewers include magnets that are used to interact with the virtual environments. The magnets temporarily mess with the device’s compass which Google Cardboard interprets as a click. My viewers didn’t include this magnet so I can’t speak to how well this works.
Of course, an inexpensive VR viewer is nothing without content. Luckily, there are a lot of very different apps to choose from. So far, I’ve tried eight, all of them free on the Google Play store:
Cardboard Camera: This is a VR viewer as well as a VR creator. The camera lets you create 360° panoramas as that you can then view using Google Cardboard. I’ve created VR panoramas of JSL in the yard (where he ran into different positions during the panorama creation – making it look like there were three of him), NHL’s school auditorium before a concert (when it was almost totally empty), and panoramas of JSL in his blanket fort. I’ll definitely be using this on my next vacation so we can drop back in at any time.
Cosmic Roller Coaster: Like the title says, this app takes you on a ride through a solar system not too unlike our own. You rocket from the outer reaches, past planets and moons (with many close calls along the way), until you circle into the sun. I found this to be mildly impressive, but not as good as Titans of Space or VR Roller Coaster (both of which I’ll cover in a bit).
Fish Schooling: This app lets you scuba dive without any equipment rental or training. As you look all around you, fish of many different types swim by. This app was impressive at first, but quickly got boring. Here’s hoping a future update adds some variety like sharks swimming past.
Star Wars: This was the obvious draw of the Star Wars-branded Google Cardboard viewers. Along with the non-Cardboard content (such as GIFs and emojis), the Star Wars app included a Jakko Spy feature which transports you into the world of Star Wars for brief segments. You get to look all around a desert planet, ducking as spaceships fly overhead, and greeting BB-8 as he rolls up to you. Needless to say, my boys and I geeked out over this. Even B had a mini-geek-out moment when she said “Oh, hi there!” as BB-8 approached her.
 Street View: This is Google’s normal Street View app. It contains not only views from every street that Google has mapped worldwide, but images that others have contributed. Viewing Street View images is impressive on a desktop/laptop screen, but Google Cardboard takes it up a notch. With a quick search I can be on top of the Empire State Building, at the Western Wall in Jerusalem, looking at a castle in England, or even scuba diving with fish nearby. Possibly the most surreal moment was when I looked up my own house on Street View one night. My brain said that I was inside the house, but my eyes reported that I was outside and the house was right in front of me. The conflict was almost dizzying. I’ve decided that I need to use this app to take quick five minute vacations. When life gets me down, I’ll just pop on over to some scenic local and pretend that I’m somewhere else for a few minutes.
 Titans of Space: After Cosmic Roller Coaster, I wondered if there were more scientifically accurate solar system models. I’m not sure how accurate Titans of Space is – clearly they “compress” space so that traveling between planets doesn’t take months or years which also means that planets appear bigger from the orbit of other planets than they should. Still, this app makes up for this with the sheer amount of information it gives on the planets and moons in our solar system. And when your solar system tour is done, be prepared to have your mind blown when it shows you how big other stars are compared to our Sun!
TurnMe Panorama: During my recent cruise, I took quite a few panoramic shots. I wondered if there was a way to turn these normal panoramas into VR panoramas. Obviously, they wouldn’t be 360° shots, but perhaps Cardboard could display them as if I were looking at giant prints of the panoramas floating in front of me. This is exactly what TurnMe Panorama does. It’s not perfect, but it definitely beats looking at a squished down version on my monitor or having to look through it with keyboard/mouse clicks.
VR Roller Coaster: One of my first downloads after I got Google Cardboard was a rollercoaster app. I’m not sure why this was as I’m not a huge rollercoaster fan, but I quickly found and downloaded VR Roller Coaster. I put on the viewer and found myself rocketing around turns and going into loop-de-loops high in the air. Though I wasn’t really moving, I could feel my stomach begin to react to the virtual coaster. This is definitely my favorite roller coaster of all – if only because you can “jump off” at any time by removing the Google Cardboard. I don’t recommend trying this on a real life roller coaster.
Whenever my boys see the Google Cardboard being taken out, they begin fighting over who gets to use it first. (Answer: Me. I get to use it first!) I feel like the apps are impressive but have only scratched the surface as to what is possible. I can definitely see more companies creating content and even giving away branded Cardboard viewers for promotional purposes. Personally, I’d love to see Disney make Google Cardboard versions of their rides. You could ride Splash Mountain, Test Track, or Expedition Everest without leaving your living room. Of course, this wouldn’t replace an actual trip to Disney World or Disney Land. However, it could spark a Disney World/Disney Land interest or help keep an existing one alive until your next Disney vacation. (If Disney is reading this, they can take my idea and just give me copies of the VR rides.)
If you’re looking for a cool VR experience without draining your bank account, I’d definitely recommend Google Cardboard.
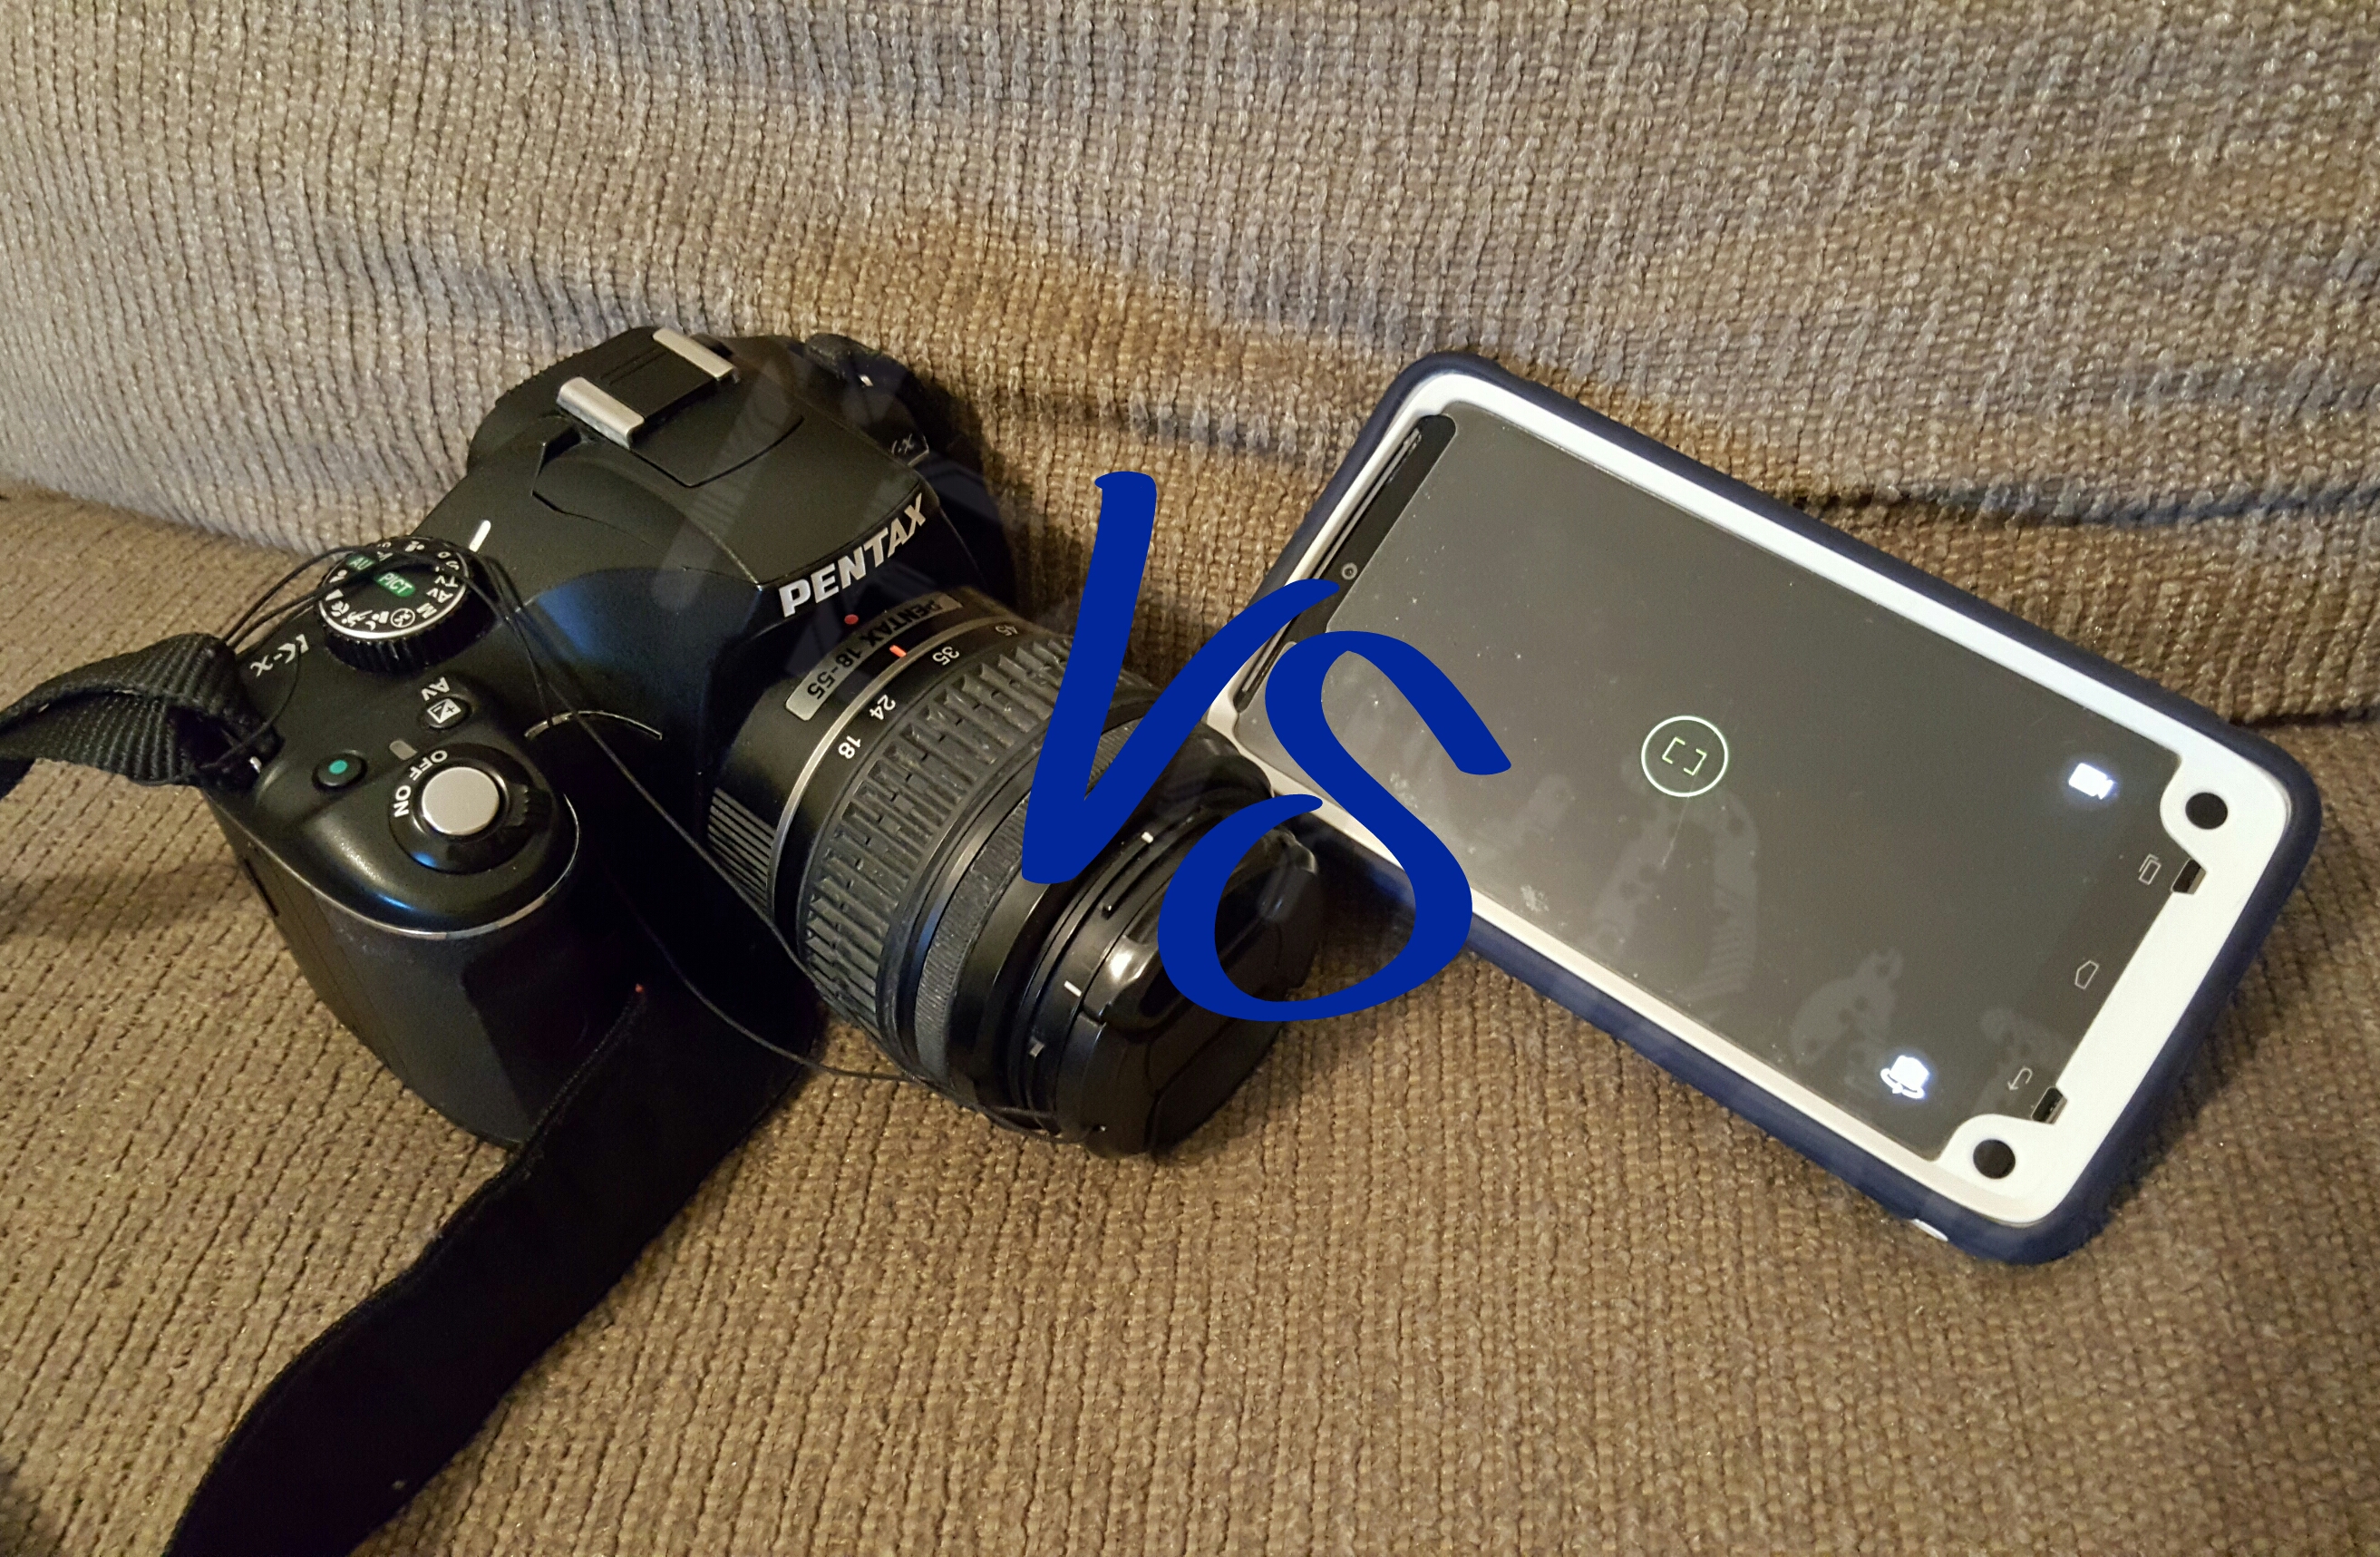
 This past weekend, we went to B’s aunt’s house to see some family that was in town. In previous years, this would mean that I would grab my DSLR and spend much of the time snapping photos. For the third time, though, we went on a trip and either didn’t take the DSLR with us or took it but didn’t use it at all. This isn’t to say that I didn’t take any photos. On the contrary, I took a ton of photos during our trips. The difference is that I used my smartphone instead of my DSLR.
 I’ll admit it: I have an awful sense of direction. While my father seems to instinctively wind his way through strange streets to discover previously unknown shortcuts, I can take wrong turns going to destinations that I’ve been to a dozen times. Thanks to the age of smartphones, I’ve come to rely on Google Maps to get me to my destination. While it can be reliable most of the time, when it fails me, it fails spectacularly.
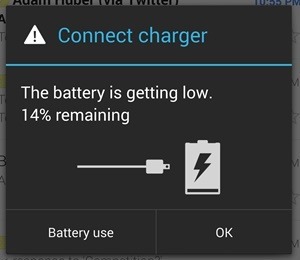
 Recently, NHL suffered a technological tragedy. His beloved Galaxy Tab 2 tablet died. NHL plays many games on his tablet and, over time, had accumulated quite a bit of progress. The idea that all of this could be lost was quite upsetting to him. After much troubleshooting, including contacting the company and exploring sending it in for repairs, we got it working again.