Brother P-Touch and Organizing the Playroom
We have a nice, big room upstairs. We wanted to use it as a playroom. Unfortunately, for the longest time, the boys couldn’t play in it because the room was just too disorganized and messy. I had already begun tiding it up when I was contacted by Mom Central about the Brother P-Touch. It seemed like the perfect compliment to our organizational project.
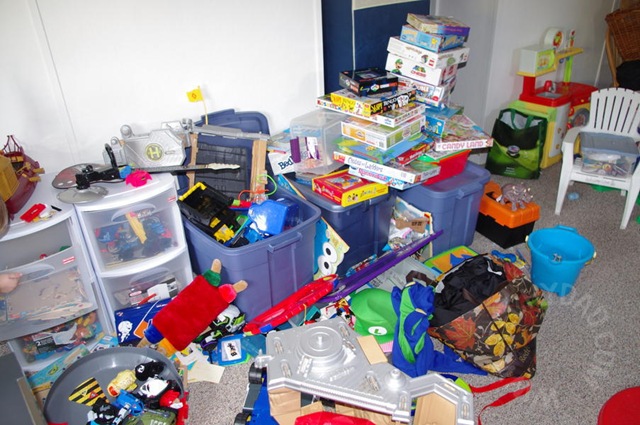
By the time the P-Touch arrived, I had already mostly organized the playroom. Of course, it still had plenty of room for improvement.

Using a gift card provided by Mom Central and Brother P-Touch for the organizational project, I went to Target and purchased some Rubbermaid storage bins of various sizes and a metal shelving unit. We had shied away from these kinds of units before, worried that they would topple over on the kids. This particular unit, however, is one that B’s father has used to keep his many plants. It is very sturdy, so we got one for our playroom.

Before long, the mess of puzzles, games and other toys were tamed. I couldn’t affix labels to the metal shelves, so I purchased some luggage tags. After putting the labels on these, I hung them on each shelf to show just what belonged there.


The storage bins were used to store toys such as Legos (previously jumbled in a much older storage bin whose lid didn’t fit on right, Lego figures (tossed in with the Legos and thus often lost), and Hexbug tracks.


This has really helped us out. Not only do we have a playroom that the kids can use, but we’ve been able to move more toys into it. This means less toys downstairs to clutter the living room or the boys’ room. While before the boys were content to stay downstairs on the couch watching TV, they’ll beg to go upstairs now. (Despite the fact that the TV up there doesn’t get cable.) They have no problem putting toys away upstairs (since the “homes” for each toy is so clearly labeled.

As for the Brother P-Touch, I found it very easy to operate. After the first labels came out with tiny type, I explored the settings and found that there are plenty of options. You can change the font size, bolding, the font itself and more. After about three minutes, I was able to produce labels that looked just like I wanted them to look. It’s a simple machine, but one with many options. The previous label makers I’ve used, were from a decade or two ago. It’s interesting to see how far they’ve progressed.
Disclaimer: I wrote this review while participating in a campaign by Mom Central Consulting on behalf of Brother P-Touch and received a product and gift card to facilitate my review and a promotional item to thank me for taking the time to participate.