Apple Cooking Craze

applesOne of the advantages to living in upstate NY is that, every fall, the apple trees become laden with their wonderfully tasty fruit. It’s an annual tradition of ours to go to an apple orchard and pick our own apples. They but only wind up being less expensive than store bought apples, but the kids have a blast going from tree to tree plucking the fruit themselves.  A couple of weeks ago, I took the boys to Indian Ladder Farms. There we picked apples, saw some animals (some of which the boys got to pet), and has a blast. When we got home, I weighed our apple haul: 44.5 pounds.

I had a taste test of the types of apples we picked and the consensus was that one of them wasn’t very good. It was way too tart to just eat. It would be, however, perfect for baking.

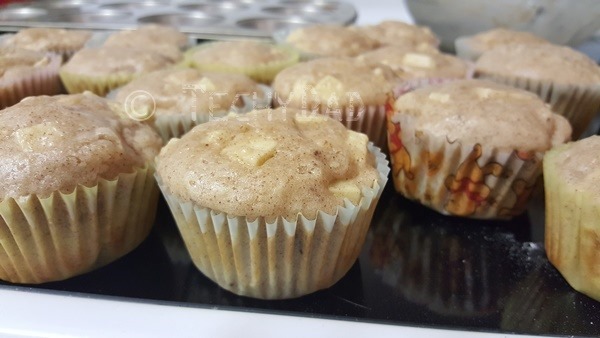
I began with some apple muffins. I figured these would be good for a breakfast or school snacks. I also thought that the 2 cups chopped apples that the recipe called for would put a nice dent in our apple supply. Imagine my shock when it only used up two apples.
muffins

The end result, though, was great. My boys loved eating the muffins and they were soon running low. I could have made another batch of muffins, but decided to try making an apple bread instead.  (I’ve since made that second batch of muffins, but I wanted to go for variety at the time.)

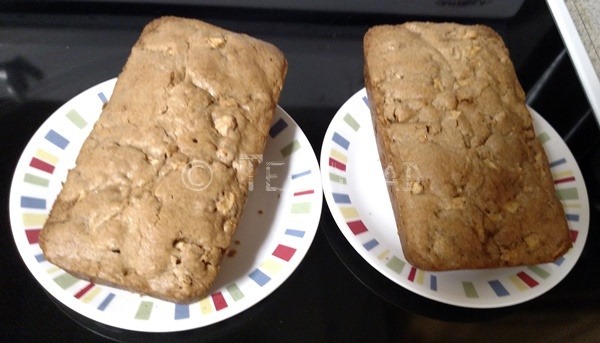
My apple bread recipe called for three cups of apples. Sure enough, this used up three more apples. The apple bread was just as good as the muffins with the added bonus of being simpler to make. I didn’t need to measure out individual muffin cups of batter, I just dumped the batter into two loaf pans.  The only downside was that individual muffin cups makes for easy portioning.
apple-bread

With the apple bread behind me, I began to get ambitious. I was going to make an apple pie. Sure, it was using a store bought, frozen pie crust, but that’s ambitious for me. B found a recipe that has a crumble topping instead of a pie crust top.

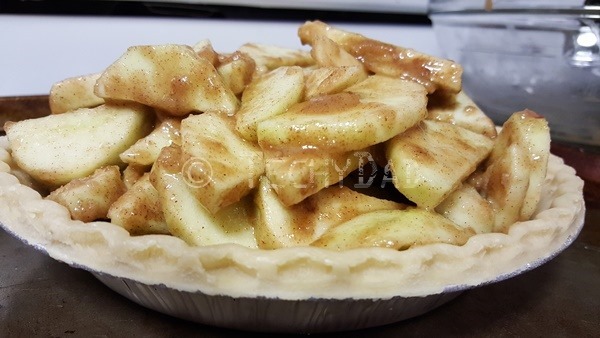
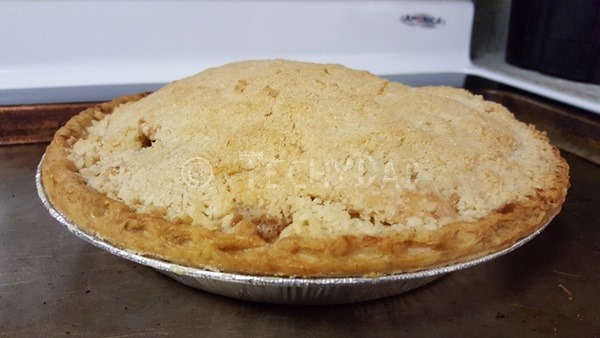
The pie began pretty well. It used up five whole apples! The apple mixture was done and placed in the pie crust. Then, I worked on the crumble topping. At first, it seemed that something went horribly wrong. It just didn’t look right to me. Still, I poured the topping over the apples and placed it in the oven.
pie-1 pie-2 pie-3

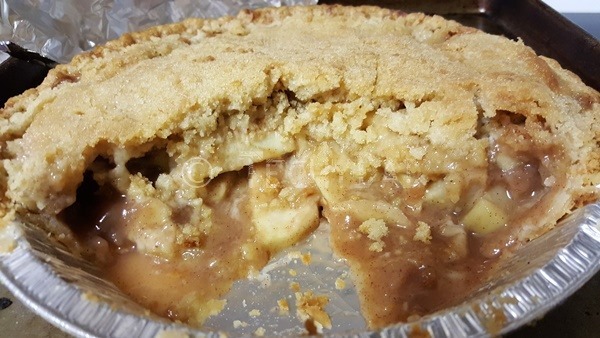
Boy was I wrong about that topping. The pie came out looking and smelling amazing. After it cooled down a bit, I sliced into it and let out and audible "oooh." This pie kept looking better and better.

Then we tasted it.

It was amazing. B has declared that I’m to make pies more often. (We had a second pie crust and I’ve since made a second pie.)

Next up was a fish dinner I had planned without any side dishes. I suddenly realized I should make something using apples. A quick recipe search and I had something to try. Sauteed apples with brown sugar, nutmeg, and cinnamon. This recipe used six apples and cooked quickly in one pot.

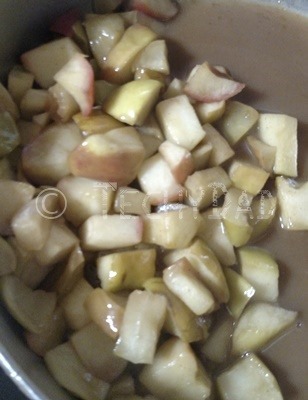
I didn’t get a good photo because we were to busy eating this dish. It was really good and would work as a side dish, snack, or even as a dessert. (I want to make more and serve it warm over vanilla ice cream.)  This is as good as I got of the skillet apples:
skillet-apples

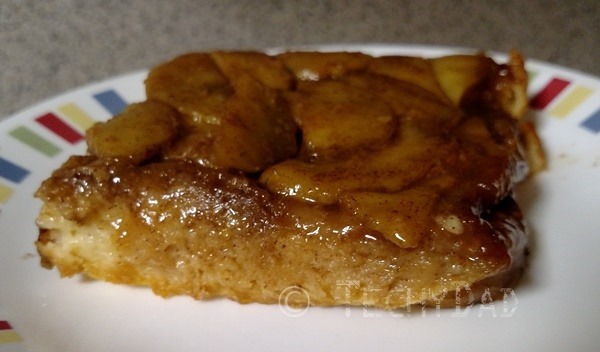
Finally, B wanted me to make an apple french toast casserole.  Six apples later, the dish was chilling in the fridge overnight.
french-toast

This was incredible.  The only downside here is that I’m attempting to watch my calories and this clocked in at a diet busting 1,000 calories per serving!

As much as these recipes used up, our fridge is still packed with apples. It looks like I’ll still be on the hunt for more dishes that include apples.

What are your favorite apple recipes? The more apples they use up, the better.

The Mac and Cheese Holy Grail

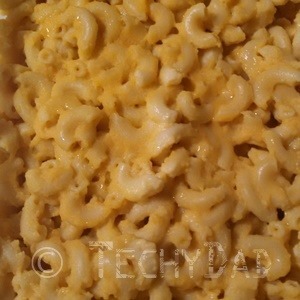
Mac And CheeseI guess I should have known better.
A couple of days ago, I was pondering a big brick of cheddar cheese that I had bought.  You see, the kids love macaroni and cheese, but they only seem to like the boxed variety.  While I’m not averse to ripping open a package of powdered "cheese" and adding milk, I’d rather that they eat something a bit healthier.

For years, I’ve been on a quest to figure out the perfect way to cook macaroni and cheese from scratch.  I’ve tried recipes that involve pureed sweet potatoes (to give the dish that distinctive orange color) and recipes that just call for cheese.  I’ve tried baked and stove top varieties.  My one major complication is that many recipes that approach the boxed variety call for Velveeta which I can’t use since it isn’t kosher.

No matter what I try, though, it always seems to end in failure.  My latest batch was rejected by both boys upon their first taste.  Even B said she didn’t like it though she choked down a bowl.  The culprit seems to have been the cheddar cheese – too sharp for everyone’s palate – and possibly the ground mustard.

You might think that I"d give up.  I probably should.  However, my disappointment at the failed recipe is countered by my stubbornness.  I’m determined to get this right no matter how many tries it takes.  That "holy grail" will be mine and it will be filled with delicious, homemade macaroni and cheese.

What is your favorite, homemade macaroni and cheese recipe?  (Ideally without Velveeta.)

Cooking With TechyDad: Quick Faux Pho

A few weeks ago, I got to try pho for the first time.  The first thing I thought about it was: I love this!  The second thing I thought was: I’m going to have to try to replicate this.  Unfortunately, all the pho recipes I found online were highly complex.  They required too much time and effort for me.  In addition, they required ingredients that would be difficult for me to find.  (Especially since I keep a kosher kitchen.)

Luckily, while browsing the supermarket shelves, I stumbled upon Pacific Foods’ mushroom broth.  Now pho isn’t usually made with a mushroom broth, but the vegetarian pho recipes I read mentioned cooking the broth with mushrooms before straining them (and some of the other ingredients) out.

I decided to come up with a quick and easy pho recipe.  Now, I know this isn’t traditional pho.  That’s why I like calling it Faux Pho.  (That and I’m a big fan of alliteration thanks to years of watching Good Eats with Alton Brown.)

First, we start with our ingredients:

ingredients

For the record, that’s 1 package of broccoli florets (around 12 oz), 2 packages of mushroom broth (64 fluid oz total), rice noodles (16oz), snow peas (about a big handful), and onions.  (In my case, I selected 2 small Vidalia onions thinking they’re sweeter and my kids might be more likely to eat them.)

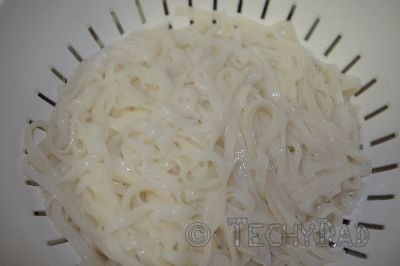
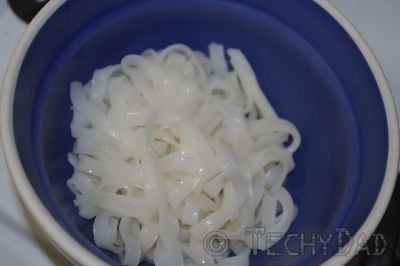
First, I cooked the rice noodles according to the package directions (boil water, toss in noodles, cook for 4-5 minutes, drain and rinse),

rice-noodles

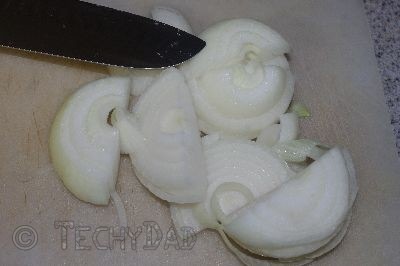
Next, I trimmed the snow peas, sliced the onions into rings, and then sliced those rings in half.  Quick tip: to avoid the "onion cry", freeze your onions for a bit before slicing.  Not so much that you’re trying to cut into a frozen-solid onion, mind you, but just enough that the enzymes that make you cry don’t get released as much.

onions-chopped

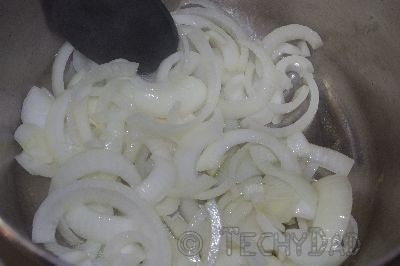
After that, I sautéed the onions in a little olive oil.  (I remade this yesterday and added some garlic too just because everything tastes better when cooked with garlic.)

onions-cooking

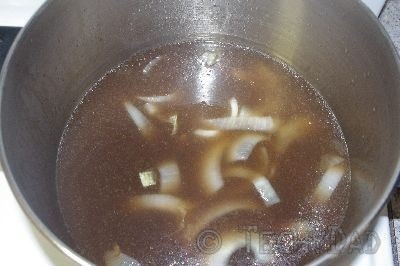
When the onions began to caramelize, I tossed in the broth and increased the heat.

onions-and-broth

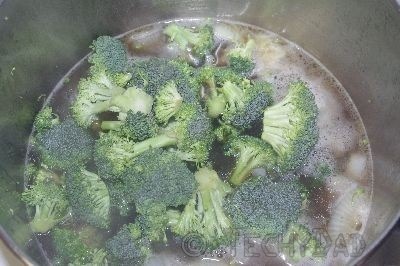
After the broth began to boil, I turned the heat down and tossed in the broccoli.

broccoli-added

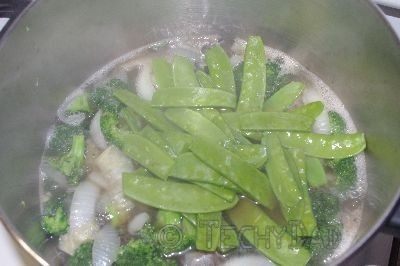
Two minutes later, I tossed in the snow peas.

snow-peas-added

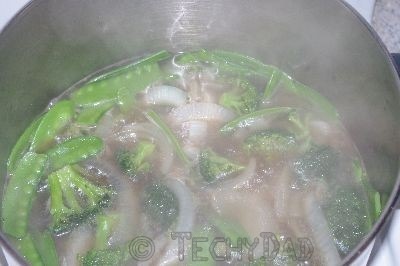
A minute later, I removed the soup from the heat entirely and pho was ready to be served.

pho-cooked

To assemble the pho, first put some rice noodles in a bowl.

noodles-in-bowl

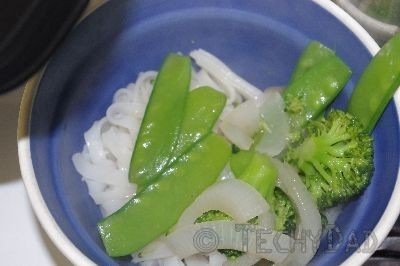
Next, add some veggies from the soup pot.

add-in-veggies

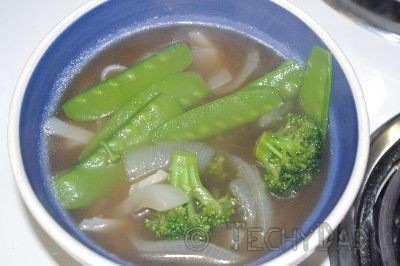
Finally, top off with broth.

pho-finale

Serve with hoisin sauce and/or Sriracha sauce or neither if you prefer.  You could also toss some bean sprouts and/or jalapenos in just before serving depending on how you like your pho.

So how does it taste?  Well, it won’t ever replace real pho, that’s for sure.  Don’t make this and expect that you’re going to get the same pho that you’d get in a good Vietnamese restaurant.  (If they made pho this way, they wouldn’t be a good Vietnamese restaurant.)  Still, it’s a decent facsimile especially if you only have a short time to prepare dinner, are craving some pho, and can’t go to a Vietnamese restaurant to get some.

Matzoh Ball Cookin’

Passover is rough on JSL.  Most of the foods he likes eating aren’t allowed so he becomes even more restricted than normal.  Given that one of the foods that he loves are matzoh balls, I figured we’d make some.

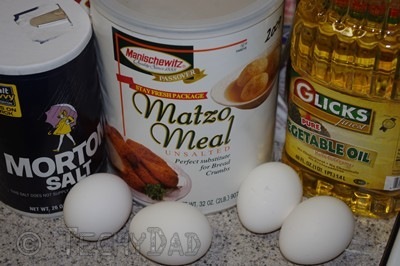
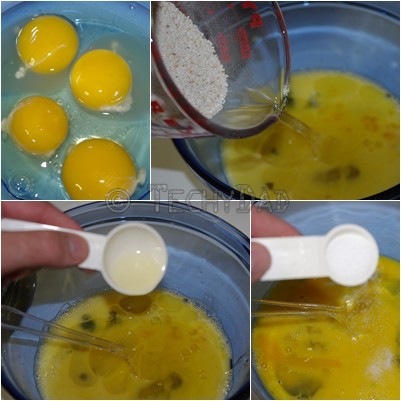
First you start off with your ingredients: 1 cup matzoh meal, 2 teaspoons of salt, 4 tablespoons of vegetable oil, 4 eggs, and 4 tablespoons of broth or water.

01-ingredients

Combine the ingredients in a bowl.

02-combine

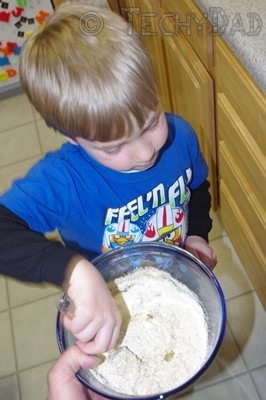
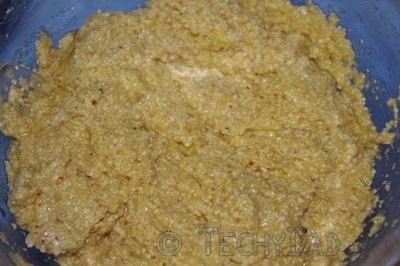
Stir well.

03-mixing

Then refrigerate for 15 minutes.

04-refrigerated

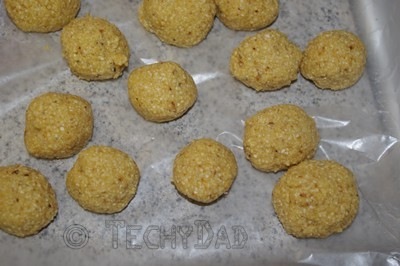
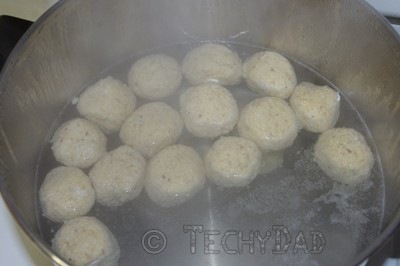
Next, roll into balls and drop into boiling water (or broth).

05-balls

06-boiling

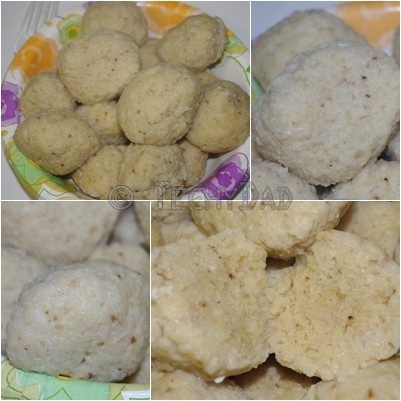
Simmer for 30 to 40 minutes, drain, and your matzoh balls will be ready to eat.

07-matzoh-balls

Freshly made matzoh balls are delicious and really take minimal effort.  Given that we have a lot of matzoh meal left over, I think we’ll be making many more batches in the future.

Cooking With TechyDad: Dark Chocolate Peanut Butter Banana Milkshakes

Last year, I wrote about how I turned frozen bananas and dark chocolate peanut butter into a wonder ice cream.  I’ve made it quite a few times since then.  Anytime our bananas were looking too ripe, I’d peel them, break them into chunks, and toss them into the freezer.  Recently, I realized I had a problem.  We had too many bags of bananas in the freezer and not enough space to store a batch of ice cream.  What to do?

I thought over the problem and wondered if I could make it into a smoothie instead.  Only when I was done, I didn’t have a smoothie.  I had a milkshake.  What a wonderful surprise!

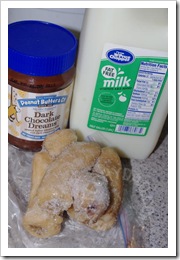
First, gather your ingredients.  You’ll need frozen bananas, milk, and dark chocolate peanut butter.  (I prefer Peanut Butter & Co. Dark Chocolate Dreams Peanut Butter.)

IMGP2063

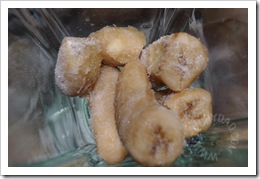
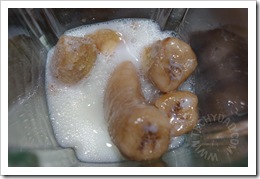
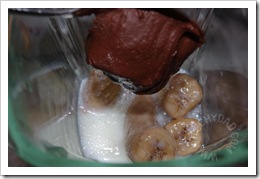
Get your blender and toss in your bananas, milk, and dark chocolate peanut butter.

IMGP2064IMGP2066IMGP2067

I put in one heaping spoonful of peanut butter for every 2 bananas, but didn’t measure the milk out.  Use your judgment.

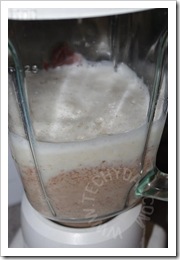
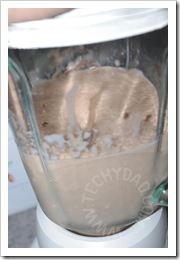
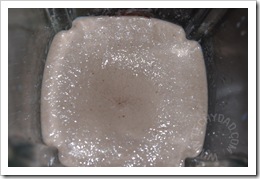
When the ingredients are in, close the lid and puree them until smooth.

IMGP2068IMGP2070IMGP2072

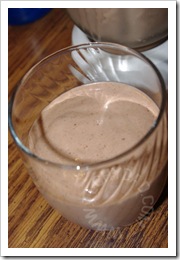
Now just pour into a glass…

IMGP2074

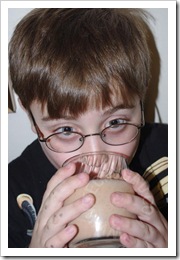
… and drink …

IMGP2075IMGP2084

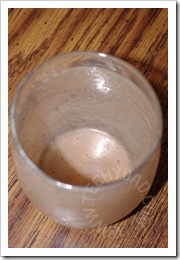
… until it is all gone.

IMGP2080

This is so quick and easy that I think the kids will be begging for it often.  I might mix this up and use regular peanut butter and add some strawberries (also sitting in the freezer) for a non-chocolaty version.

1 2 3 13