Cooking With TechyDad: Broccoli Cheddar Soup

In the cold, winter weather, a nice, warm soup can really hit the spot. Especially if said soup is full of cheesy goodness! First, let’s gather our ingredients.

P1210250.JPG

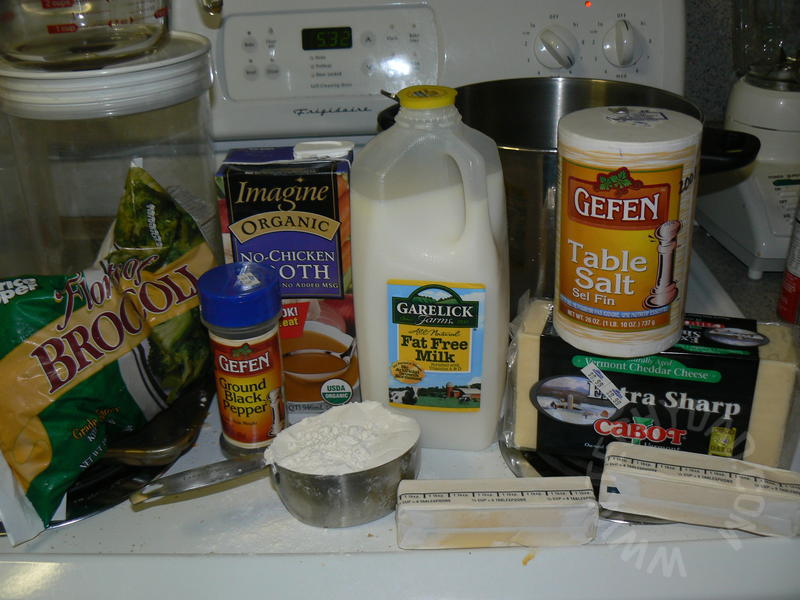
For the record, that’s 2 sticks of butter, 1 cup of flour, 6 cups of milk, 3 cups of chicken broth (or, as I used, No-Chicken Broth), 3 to 4 cups of shredded chedder cheese, two packages of frozen broccoli and salt and pepper (to taste).

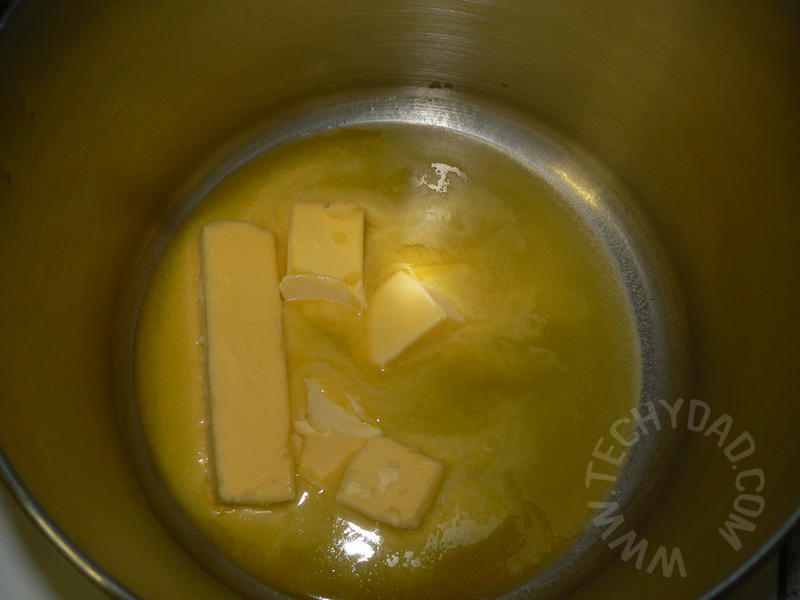
Now toss the butter into a nice, big pot on medium heat and let it melt.

P1210249.JPG

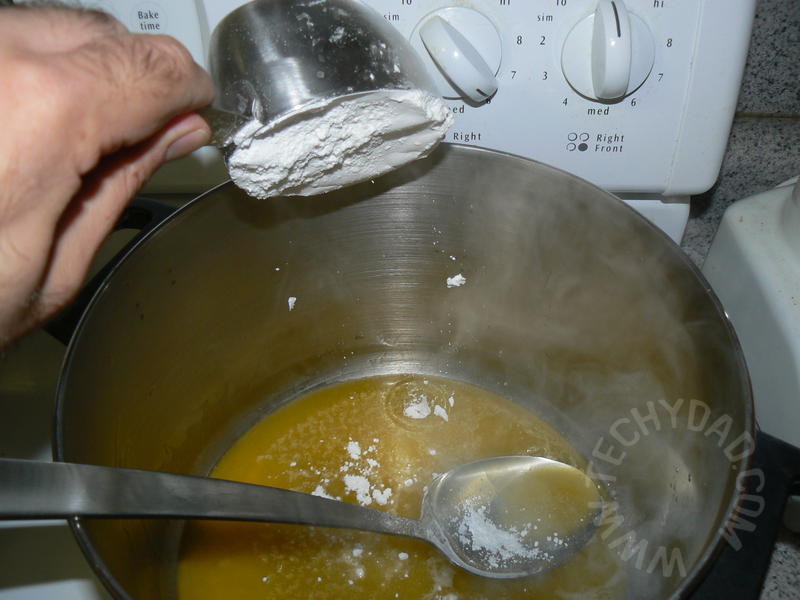
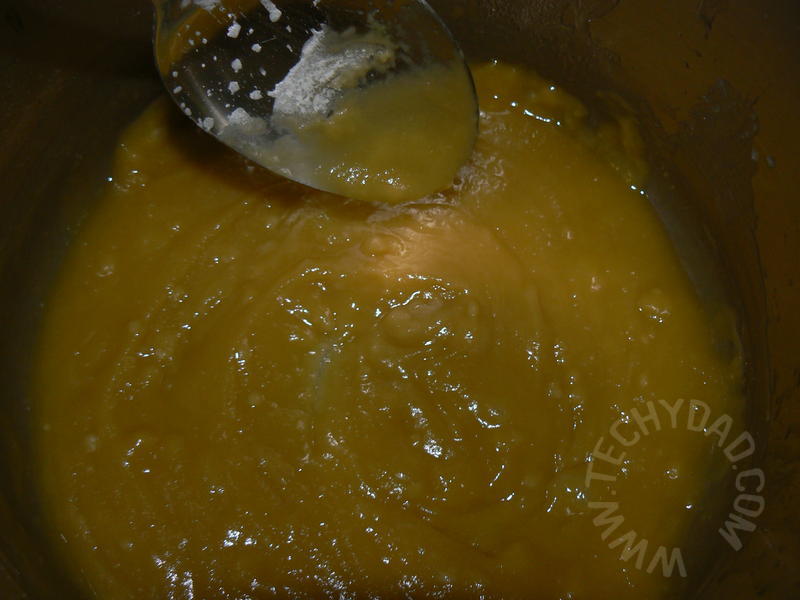
Once the butter is melted, mix in the flour and cook this for awhile.

P1210251.JPG P1210253.JPG

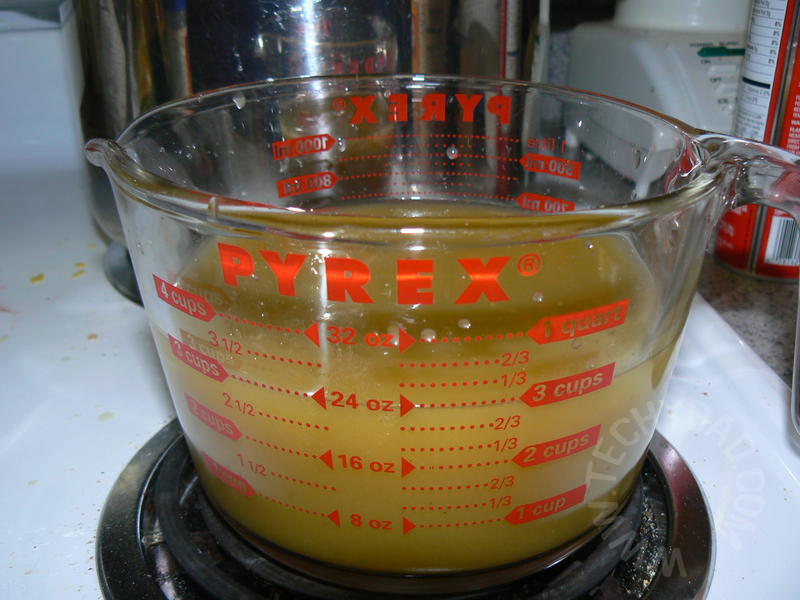
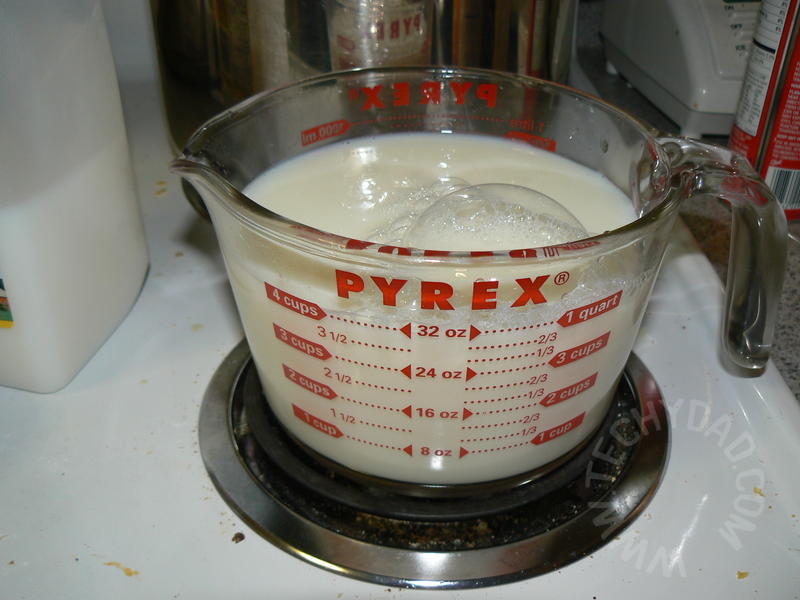
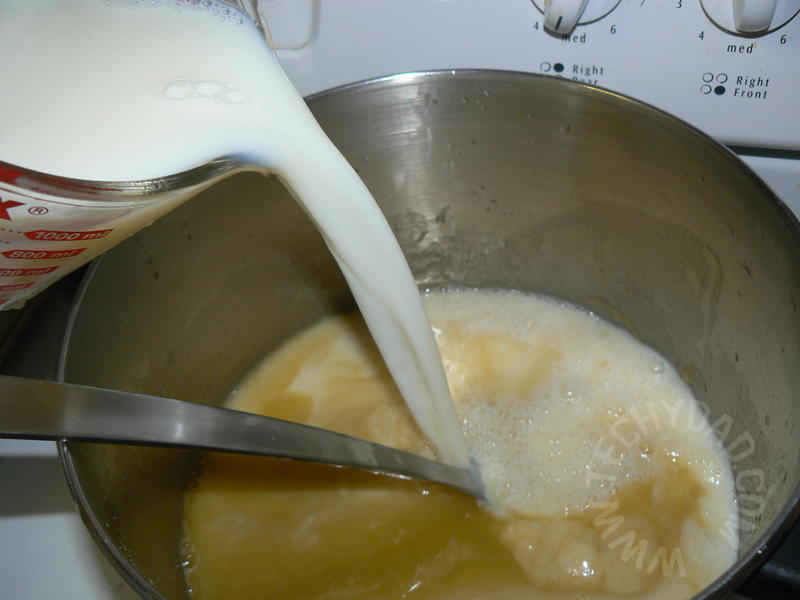
Once this has browned, mix in the Chicken/No-Chicken broth and milk. (Yes, I know the photo shows 4 cups of milk. I added 2 additional cups but didn’t take a photo of that.)

P1210254.JPG P1210255.JPG
P1210256.JPG P1210257.JPG

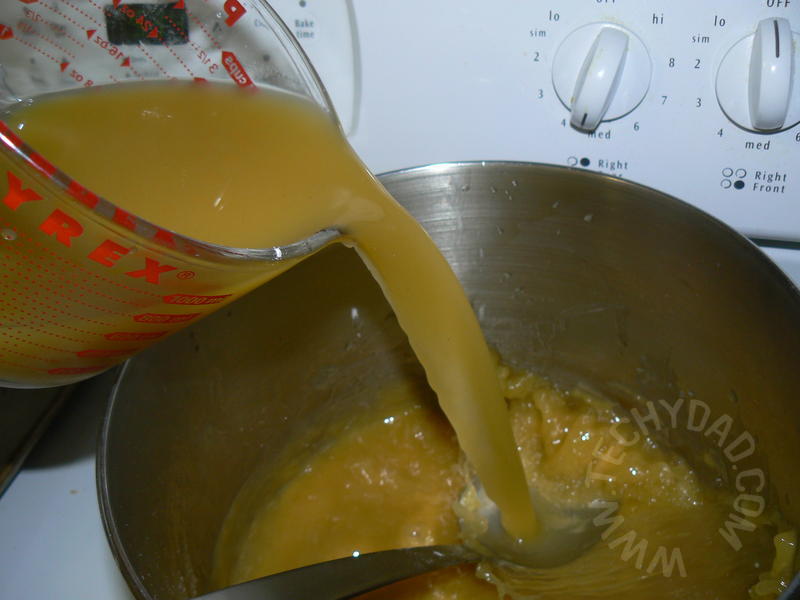
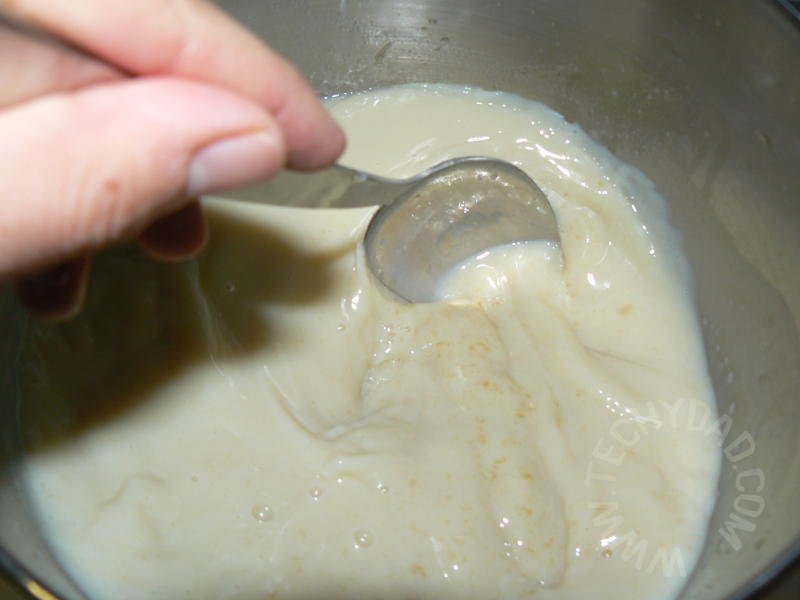
Make sure you keep stirring. I’ve found that stopping stirring lets the flour/butter mixture (aka the rue) settle to the bottom of the pot. The resulting soup will be much more watery and you’ll have more bottom-of-pot gunk to clean up. Neither of these outcomes is very desireable.

P1210260.JPG

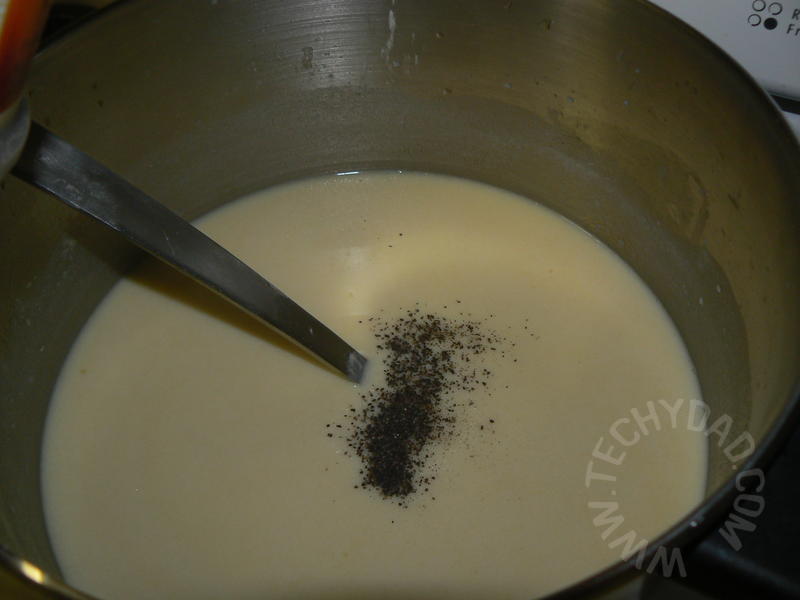
You can also add in your pepper now.

P1210264.JPG

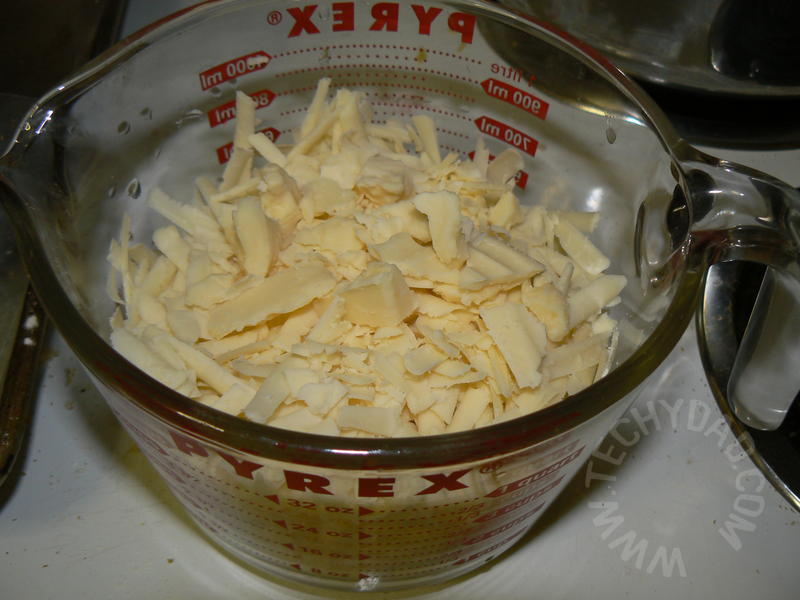
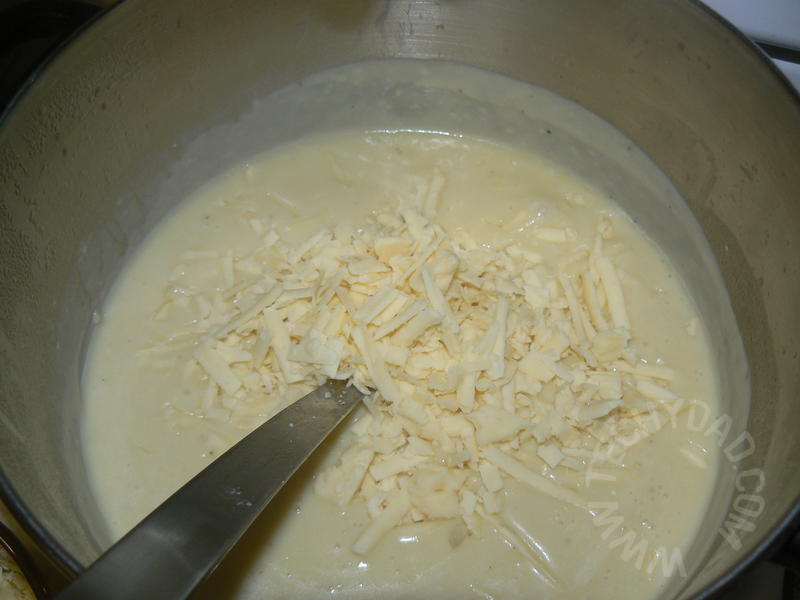
It will seem like you’re stirring forever, but eventually the soup-to-be will start to bubble. Once it does, add in your shredded chedder cheese.

P1210262.JPG P1210269.JPG

Resist the urge to nibble on some….. Ok, maybe just one bite. YUM!

P1210263.JPG

Keep stirring until the cheese melts. This won’t take long. Once it has melted, toss in the frozen broccoli florets.

P1210275.JPG P1210284.JPG

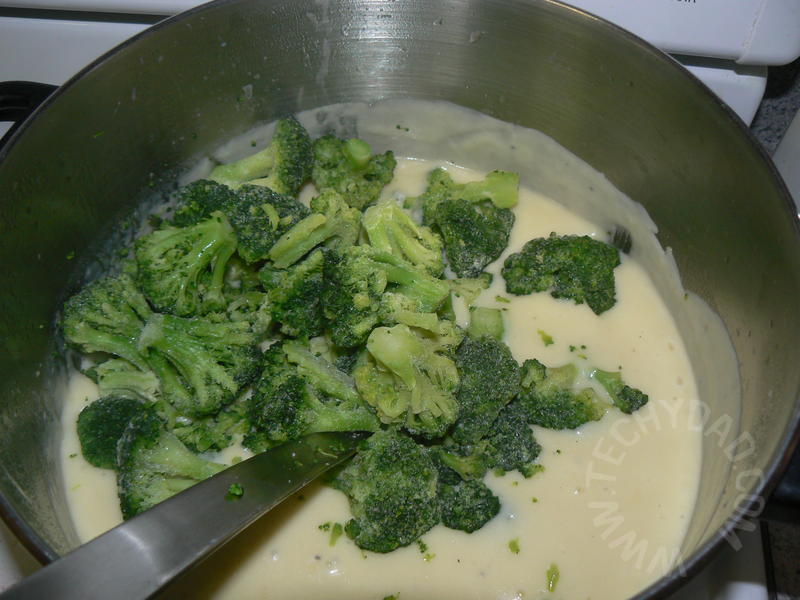
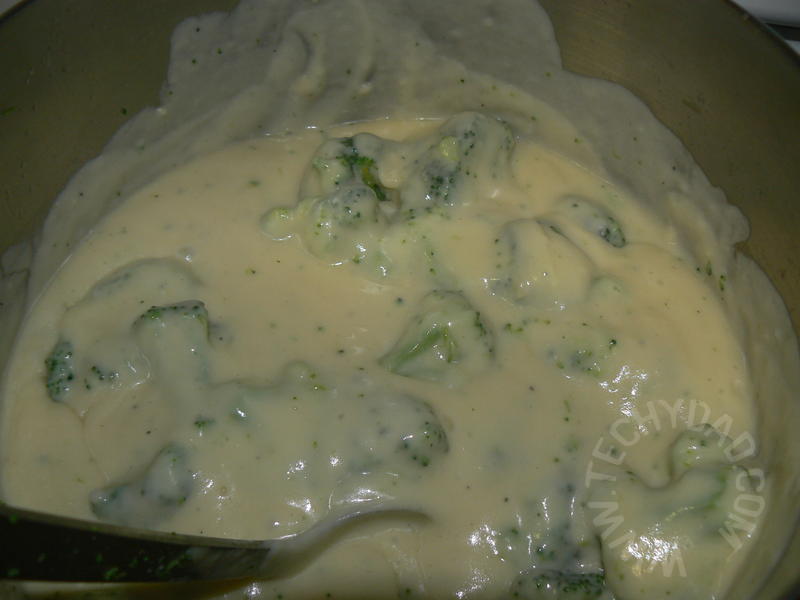
Keep stirring the soup until the florets cook. This shouldn’t take too long at all. Now simply ladle into bowls and serve. With crackers, if desired.

P1210285.JPG

By the way, there’s a variation that we’ve done, which we actually like better than Broccoli Cheddar Soup. Use cauliflower florets instead of broccoli florets. Then, when the florets have cooked in the soup, use an immersion blender to puree some (not all) of the florets. The cauliflower’s taste blends (no pun intended) into the overall soup better and the pureed cauliflower is easier to sneak by fussy palates of kids. Either way, this soup is full of cheesy goodness.

Credit where credit is due: This recipe was sent to me by kileigh7.

Cooking With TechyDad: Sneaky Macaroni and Cheese Muffins

JSL loves macaroni and cheese. If we let him, he’d eat “Mac Cheeze” for breakfast, lunch and dinner. Of course, if we let him live off of boxed macaroni and cheese, he wouldn’t be getting vital nutrients. He’s going to keep wanting macaroni and cheese, so we’ve got to somehow find a way to make it healthier. Mixing in chunks of broccoli doesn’t work. He finds those and freaks out. So what do we do? Luckily, Missy Lapine, also known as The Sneaky Chef, has an answer.

This is a very simple recipe. It only has four ingredients: Eggs, Orange Puree, Shredded Cheddar Cheese, and Macaroni.

P1210951.JPG

First cook the macaroni. After all, you don’t want Crunchy Macaroni and Cheese. While that’s going on, crack 4 eggs and mix them into 1 cup of puree.

P1210953.JPG P1210954.JPG P1210955.JPG

Now, mix in 1 cup of the macaroni and 1 1/2 cups of the cheese. (NOTE: Just before this point, we decided to make a double batch. Thus the sudden increase in the egg/puree level and the massive amount of muffins later on.)

P1210957.JPG P1210959.JPG P1210960.JPG

Take this mixture and portion it out into muffin cups. Top with some more cheddar cheese if you like. (We did ours without and they came out just fine.)

P1210961.JPG P1210962.JPG

Bake for 20-22 minutes in a 350 degree oven.

P1210963.JPG

When they come out, eat.

P1210965.JPG P1210966.JPG

NHL liked these. JSL was tired at the time and so cranky in general. I think the muffin shape threw him. He’s used to macaroni and cheese being slopped out onto a plate. Having it in a hand held shape was just too confusing. B and I loved these and ate…. well, we probably ate more than we should have. This recipe will *definitely* be made again and again.

As a bonus, the macaroni and cheese muffins can be frozen for long term storage. Honestly, though, I don’t think they’ll really last too long. They’re too delicious. In addition, I can personally attest to the fact that they taste good cold. *cough*late night snack*cough* The full recipe to this is available on Missy’s website.

Cooking With TechyDad: Mexican Muffins

Continuing on with Sneaky Weeky, we’ll be making Mexican Muffins today. First, we’ll get our ingredients together.

P1210437.JPG

That’s eggs, egg white (well, eggbeaters since I didn’t have egg whites), cheddar cheese, salsa, tortillas, and the white puree. First we’ll crack open the eggs and mix in the egg whites egg beaters and puree.

P1210439.JPG P1210440.JPG
P1210442.JPG P1210443.JPG

Next, we’ll mix in a cup of cheese and a cup of salsa.

P1210447.JPG P1210449.JPG
P1210451.JPG P1210452.JPG

Now that the filling is done, let’s get the tortillas ready. First spray them with cooking spray on both sides.

P1210454.JPG

Next, push them into a muffin tin. (Be careful not to rip them!)

P1210456.JPG

Pour in some of the egg mixture and top with cheese.

P1210458.JPG P1210459.JPG

Now bake it at 350 for 20 – 22 minutes. Take it out and enjoy!

P1210463.JPG P1210460.JPG
P1210462.JPG

When NHL and JSL bit into these, they didn’t realize that there was any cauliflower or zucchini (the white puree) involved. For all they knew, this was just eggs and cheese in a tortilla shell. However, success quickly evaporated when NHL spotted some peppers from the salsa. He quickly rejected the whole thing and JSL, copying his brother, rejected it as well. I made it again another day, this time leaving off the salsa, and had a little better luck. B and I liked both the salsa and salsa-less versions.

Review: The Sneaky Chef to the Rescue

NHL used to be such a good eater. He would eat just about anything we gave him. Then, around when he turned two and a half, his culinary adventureness shut down. Suddenly, he developed a list of “approved” foods and vegetables were definitely *NOT* on the list.

When I first heard about Missy Chase Lapine, The Sneaky Chef, I’ll admit I was skeptical. The idea of sneaking the veggies into him just didn’t sound right. I wanted him growing up knowing that carrots, sweet potatoes, zucchini, and cauliflower were tasty as well as good for you.

Missy explained in her book, however, that sneaking the veggies wasn’t a substitute for giving kids stand alone vegetables. However, you won’t need to turn broccoli into a battle. You will know that the rest of the meal has some hidden goodness so your child will be getting good nutrients whether or not they eat their veggies. Without a ton of pressure, kids might actually be more likely to eat some of their overt veggies.

I purchased her first book and tried out a few of the recipes. I found that, sure enough, my kids couldn’t tell what was in them. So when I heard that Missy had a new book out, I just had to try it. Missy’s new book is called The Sneaky Chef to the Rescue: 101 All-New Recipes and “Sneaky” Tricks for Creating Healthy Meals Kids Will Love.

“To The Rescue” contains some improvements from the original Sneaky Chef. For example, recipes include nutritional information now. We took it out from the library and I tried a few of the recipes. As with the first book, my children didn’t realize what was hidden in their food. Whether it was wheat germ, yams and carrots in the chocolate chip bon bons or cauliflower and zucchini in the eggs, they were none the wiser. And lest you think that you need to make everything from scratch, Missy showed how to take box mixes for everything from pancakes to cake and add additional hidden goodness.

There were so many good recipes, in fact, that I decided to buy the book. It turns out that being sneaky can be good for your kids, and quite delicious to boot. I look forward to making many more sneaky meals for my children. In fact, I would recommend it for families with picky eaters of any age.

Disclaimer: This review consists of entirely my own opinion. I didn’t receive anything in compensation for this review, but decided to review the book (and recipes) because I honestly enjoyed it.

Cooking With TechyDad: Chocolate, Peanut Butter and Marshmallow Dessert Pizza

Today on Cooking With TechyDad, we’re going to make a dessert pizza. First, let’s get our ingredients out.

P1210122.JPG

Next, we place our pizza crust on a baking sheet and spread half a cup of peanut butter on top of it.

P1210123.JPG P1210124.JPG P1210125.JPG

Now, pour a tablespoon of honey over it.

P1210126.JPG P1210127.JPG

Follow that up with a half cup each of chocolate chips and marshmallows. (Yes, I used a bit more than a half of a cup.)

P1210128.JPG P1210129.JPG

P1210130.JPG P1210131.JPG

Now, pop it in a 350 degree oven for 20 minutes.

P1210132.JPG

After the 20 minutes are up, take the pizza out.

P1210141.JPG

It’s already looking good, isn’t it?

P1210142.JPG

Now, thinly slice a banana and place it over the top of the pizza.

P1210140.JPG P1210143.JPG

Let the pizza cool for two minutes, then slice and eat.

P1210149.JPG P1210154.JPG
P1210156.JPG P1210160.JPG

1 2 3 4