Cooking With TechyDad: Apple Cheddar Pizza

As I mentioned before, we went apple picking two Saturdays ago and wound up with 29.5 pounds of apples.  Some of these found their way into a big batch of Slow Cooker Apple Sauce, but there were still plenty left.  I saw a recipe online for Apple Cheddar Pizza and it intrigued me.  So, for dinner Sunday, I made four pizzas.  Two were the usual sauce-and-cheese affairs, but the other two…

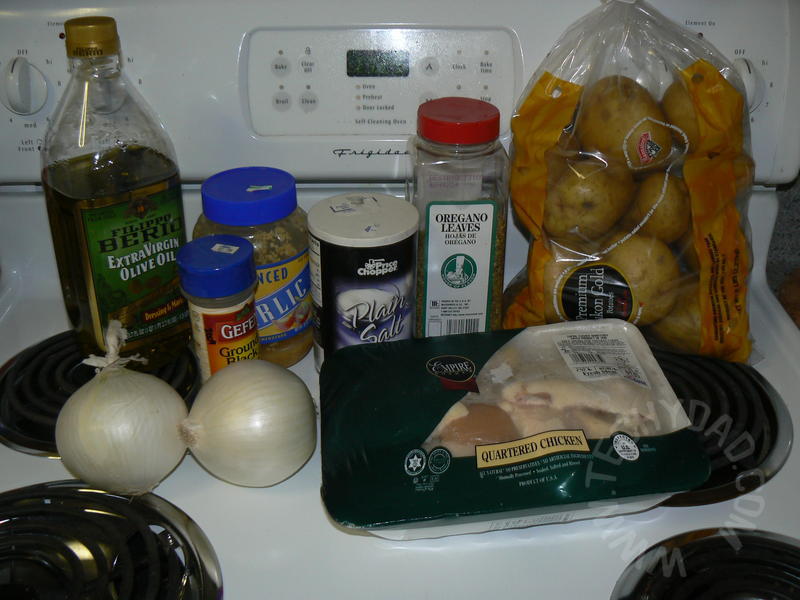
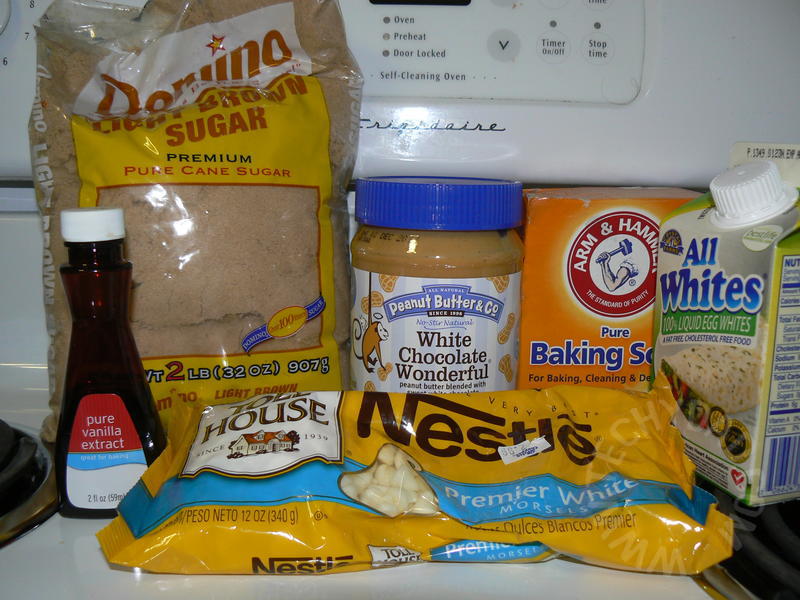
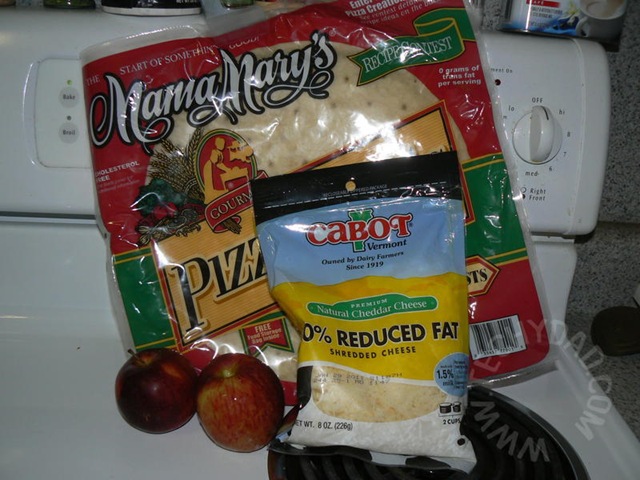
First, as always, we gather our ingredients.

P1350915

That would be pizza shells, shredded cheddar cheese and apples.  Note, that I used more than those two small apples.  Depending on the size of your apples, you might need three or four per pizza.

First, I laid out the pizza shell.

P1350917

Note: If you make your own from scratch or buy dough, that’s great.  Just get it to the “ready to top” stage and continue on from here.

Next, I tossed on a thin layer of cheddar.

P1350918 P1350919

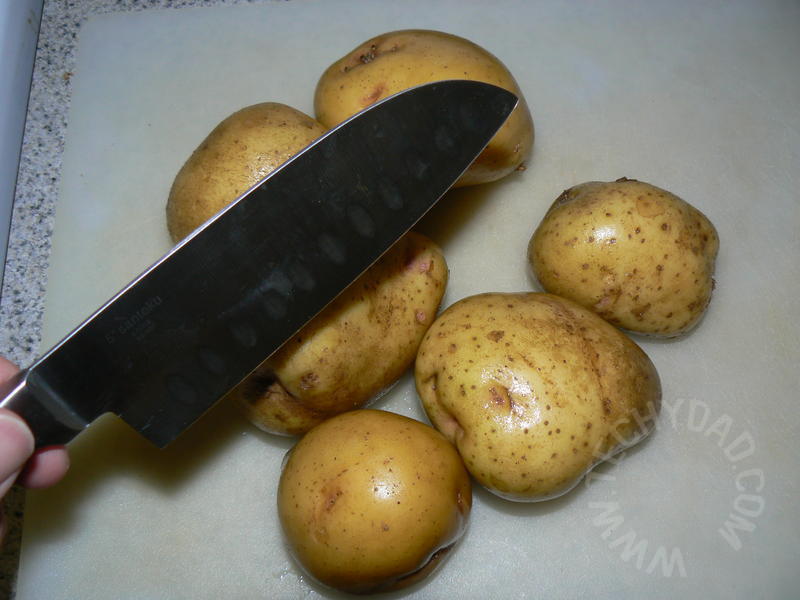
I pealed, cored and thinly sliced the apples.  The slices were arranged in a circular pattern on the pizza.

P1350921 P1350923 P1350925

At this point, you could toss on a little cinnamon or your favorite apple-accompanying spice.  I was in a hurry to taste this so on went a second layer of cheesy goodness.

P1350926

It went into the oven for about 7 minutes until the cheese was melted.

P1350927

Um, like I said, I was in a hurry to eat this.  So much so that I forgot to take a photo of the whole pie.  Oops.  Want a slice?

P1350928

If, like me, you forgot decided not to add a spice before, you could always add it now.

P1350930

Or, also like me, you could make a second pie.

P1350932

The Verdict

NHL declared this to be the best pizza I’ve ever made.  His exact words!  So I’d say this was a hit.  What’s not to like?  Apples and cheese make a great combo.  And, with about 14 more pounds of apples left, I might be making this again very soon.

Cooking With TechyDad: Marinated Greek Chickpeas

As I’ve mentioned before, there’s a Greek restaurant near my parents’ house that had the best chickpeas.  They were marinated in olive oil with onions and spices.  I’ve long wanted to get the recipe or duplicate it, but one ingredient always eluded me.  The last time we were there, though, the chickpeas tasted off.  We suddenly realized the missing ingredient: lemon.

During a Pampered Chef party at CutestKidEver’s house, we found a Greek rub that seemed to contain just the spices we needed.  Score!

P1340783

So here’s my recreation attempt.  First, the ingredients:

P1340781

That would be chickpeas (2 cans), a small onion, the Greek rub and some olive oil.  Now, we we chop up the onion.

P1340786

Drain the chickpeas and pour them into a container.

P1340791

Now add the chopped onions.

P1340794

And the Greek rub and the olive oil.

P1340796P1340799 

Now mix and marinate for a day or so.

P1340800

In the end, this was good, but there’s still more to go before I’ve perfected it.  First of all, refrigerating it only leads to the oil congealing.  Also, the onion taste was way too strong.  I might try a milder onion next time or perhaps sautéing it slightly to soften it up and remove some of the strong flavor.  I might also make smaller batches so that we don’t have a huge container of a slightly off version.  All in all, though, this was a decent first try.

(By the way, this was my first post composed using Windows Live Writer. I’m just getting used to it, but so far I love it!)

Cooking With TechyDad: Slowcooker Greek Chicken

One can be forgiven for thinking that we are vegetarian. The fact of the matter is that we usually do eat vegetarian. This isn’t because of some moral stance on not eating animals (though I respect those with that moral stance). Instead, it is because we keep Kosher in the house and the price of Kosher meat is exorbitant. So instead of paying an arm and a leg (and trotting out the meat pots, meat dishes and meat silverware), we buy soy products instead.

Just before Rosh Hashana, however, I got the call to pick up a package from B’s grandmother. She had a big bag with challah, gefilte fish, grape juice and other items. On the bottom was a package of quartered chicken. Normally, I’d toss this into the freezer to deal with at a later time, but it was already thawing. So I put it in the fridge, consulted the sacred tomes (aka my recipe books), and came up with a plan.

First, I gathered the ingredients.

P1330653.JPG

For those of you who don’t want to click to enlarge the image, that’s olive oil, pepper, 2 onions, minced garlic, salt, the aforementioned chicken, oregano and potatoes.

Next, I quartered 6 small spuds and placed them in my slowcooker.

P1330657.JPG P1330658.JPG
P1330660.JPG P1330661.JPG

Then, being in a cutting mood, I quartered the onions and saved them for later.

P1330663.JPG

Next, I skinned the chicken and put it in the slow cooker over the potatoes. This took awhile and reminded me why I love working with cutlets that have already been de-skinned and de-boned.

P1330664.JPG

Remember those onions? (If not, get your memory checked.) Well, I tossed them in on top of the chicken.

P1330665.JPG

Then came the equivalent of 1 clove of minced garlic into the slowcooker. (Equivalent because I was using pre-minced garlic. Less mess and doesn’t spoil as quickly.)

P1330666.JPG

Now, I mixed a half cup of water with 3 teaspoons of oregano, 1 teaspoon of salt and half a teaspoon of pepper. Into the slowcooker it went.

P1330667.JPG P1330668.JPG
P1330670.JPG

Finally, a tablespoon of olive oil was drizzled on top of it all.

P1330671.JPG

I placed the cover on, set the slowcooker to high and let it cook for about five and a half hours.

P1330673.JPG P1330674.JPG
P1330678.JPG

The best part? No need for side dishes. It forms a whole meal all by itself!

P1330681.JPG

YUM!

Cooking With TechyDad: The PB Files, Part 6: Maple Peanut Butter Mousse

I’m a big fan of mousse, but I don’t often get the chance to make it. When I saw this recipe, I knew I’d have to make it. First, we gather our ingredients, all three of them.

P1300170.JPG
P1300172.JPG P1300174.JPG

That’s heavy cream, milk and Mighty Maple Peanut Butter. If you don’t have maple peanut butter, you could always add some maple syrup to the mix. First, put the milk and maple syrup peanut butter into a blender and blend them together.

P1300177.JPG P1300188.JPG

Next, pour the egg whites into a bowl and beat them with an electric mixer until they form stiff peaks.

P1300179.JPG P1300180.JPG
P1300186.JPG

Now, fold in peanut butter-milk mixture.

P1300191.JPG

Refrigerate the mixture for a few hours (or overnight), scoop into a bowl and enjoy.

P1300193.JPG P1300196.JPG

The Verdict:

NHL and B didn’t like this one. I think they might be used to chocolate mousses and so were thrown by the maple flavor. I definitely think that the taste was improved by adding some mini-chocolate chips. Perhaps next time I’ll try making this with the Dark Chocolate Dreams Peanut Butter.

Disclaimer: Peanut Butter & Co sent me the jars of peanut butter to try. The opinions about the peanut butter and the dishes I make with them are my own, though, and have in no way been influenced by Peanut Butter & Co.

Cooking With TechyDad: The PB Files, Part 5: Wonderful White Chocolate Peanut Butter Cookies

I’ll admit right off the bat that I’m not a big white chocolate fan. I’m more of a dark chocolate person, myself. Still, how can you resist a peanut butter called White Chocolate Wonderful?

P1290298.JPG P1290299.JPG

I found a recipe online for Flourless White Chocolate Peanut Butter cookies and then went to work gathering my ingredients.

P1290296.JPG

That’s brown sugar, white chocolate peanut butter, baking soda, vanilla, white chocolate peanut butter chips and egg whites. First, we combine the peanut butter, brown sugar, baking soda and vanilla.

P1290303.JPG P1290304.JPG
P1290306.JPG P1290312.JPG

Now, in a second bowl, lightly beat the egg whites. (Bad, egg whites!)

P1290305.JPG P1290317.JPG

Pour the beaten egg whites into the first bowl and mix it all together.

P1290320.JPG P1290322.JPG

Fold in the white chocolate chips.

P1290334.JPG

Now, scoop onto a baking sheet and cook at 350 for 10 to 12 minutes.

P1290335.JPG P1290337.JPG

When they come out, do NOT try to move them. The cookies will be way too soft. Instead, let them cool for about 5 minutes on the baking sheet before moving them to a cooling rack. Or do like I did and let them cool for 5 minutes on the tray and then remove the aluminum foil – cookies and all – to let them cool for another 5 minutes. You’ll be rewarded with delicious white chocolate peanut butter cookies.

P1290349.JPG P1290343.JPG

The verdict? Well, these were good, but to be honest, I have another peanut butter cookie recipe that I like more. I guess I like that one more due to the greater peanut butter taste. Still, this white chocolate peanut butter’s good stuff!

Disclaimer: Peanut Butter & Co sent me the jars of peanut butter to try. The opinions about the peanut butter and the dishes I make with them are my own, though, and have in no way been influenced by Peanut Butter & Co.

1 3 4 5 6 7 13