State of Summer Denial
 I’ve been averting my eyes and trying to shut out the truth, but I don’t think I can do it anymore. The leaves are already starting to change. The temperatures have dropped, meaning that pants are worn instead of shorts. I’ve even had to get out my (*gasp*) jacket. And, as the final nail in the coffin, it will soon be time to switch the calendar from September to October. It’s time to face the facts: Summer is over and Fall is here.
While the pool-time fun might be over for the next eight or nine months, and while I can’t sit outside anymore in shorts and a T-shirt, basking in the sun’s rays – at least without shivering in the chilly breeze, autumn fun is just around the corner.
Soon the leaves will fall off the trees making for fun walks. (I’m not sure why, but I’ve always loves the crunching sound of fall leaves under my feet.) Halloween is coming up as well. (NHL might go as Harry Potter this year.) Best of all, though, is the fact that the Oven Ban has been lifted.
During the summer months, when we’re fighting to keep the temperature in the house under 80, the last thing we want is a 400 degree oven pumping heat into our rooms. So from about mid-May through September, the oven goes mostly unused. We will bake occasionally, but that’s the exception, not the rule.
During the fall (and winter) months, though, I get free reign to use the oven. When it is 70 (or less) in the house, pumping in more heat isn’t as big of a deal. In fact, on some days, it’s downright desirable. (Everyone knows the adage "A watched pot never boils", but few know "An oven that is constantly opened to ‘check the temperature’ when the person is really trying to warm up won’t preheat quickly." I guess it doesn’t roll off the tongue as easily even if it is true.)
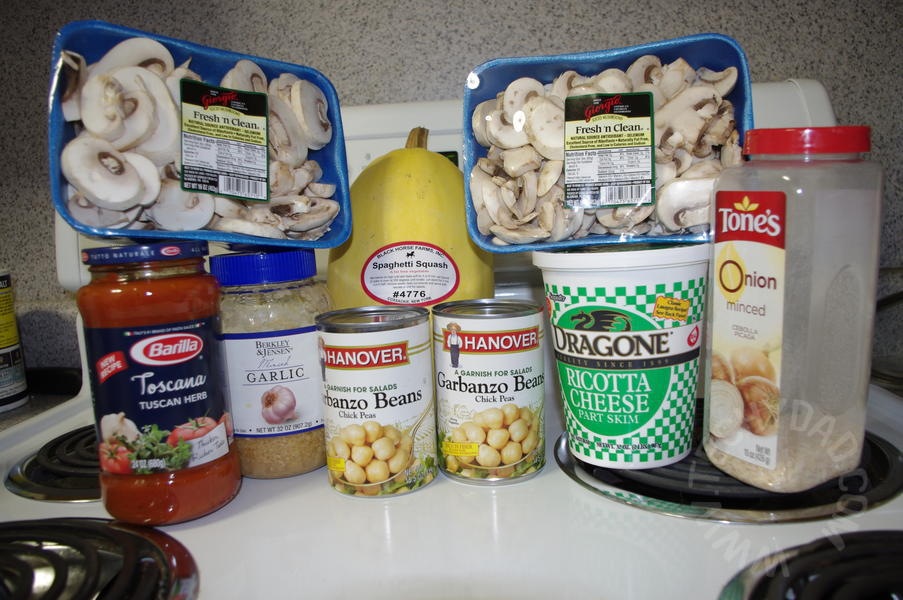
With the oven ready to use, I’m chomping at the bit to use it to it’s fullest. Here come the homemade pizzas, the roasted veggies, the baked lasagnas, and more.
What do you like cooking in your oven?
NOTE: The leaf image above is "Fall Leaves" from Gerald_G. It is available via OpenClipArt.org.


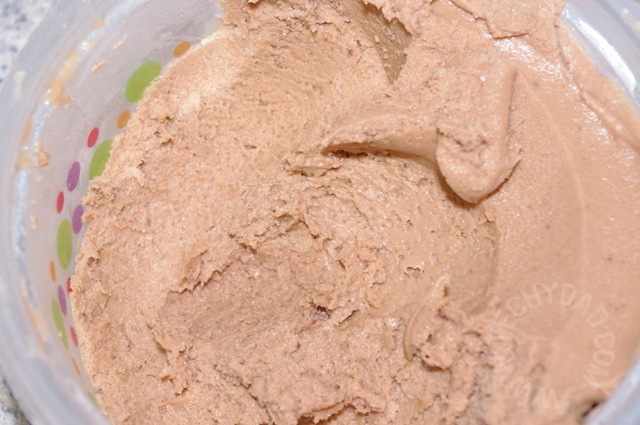


 There you go. Hard dark chocolate peanut butter ice cream!